Kodak Film Overexposed - Free Preset for Lightroom
Kodak Film Overexposed - Free Downloadable Lightroom Preset
Recently, I was trying to make a preset that would match Kodak Color Plus 200. I never got to my final destination because I got distracted by a few colors I liked in my experimenting. The final result of my rabbit hole is Kodak Film Overexposed, which is featured in this article.
I lowered the saturation of the greens, modified the hue of the blues, and slightly adjusted the reds/oranges to achieve this look. I also added a few custom tone curves and slightly modified the white balance. It turned out to be one of the more complex presets I’ve made. I really like the look and it is suitable in almost all conditions, with one exception. This preset doesn’t work well when used on scenes featuring warm synthetic lighting. Warm indoor photos often become too orange and don’t look good. You can still use the preset universally if you remember to go back and edit the white balance on the indoor images before exporting.
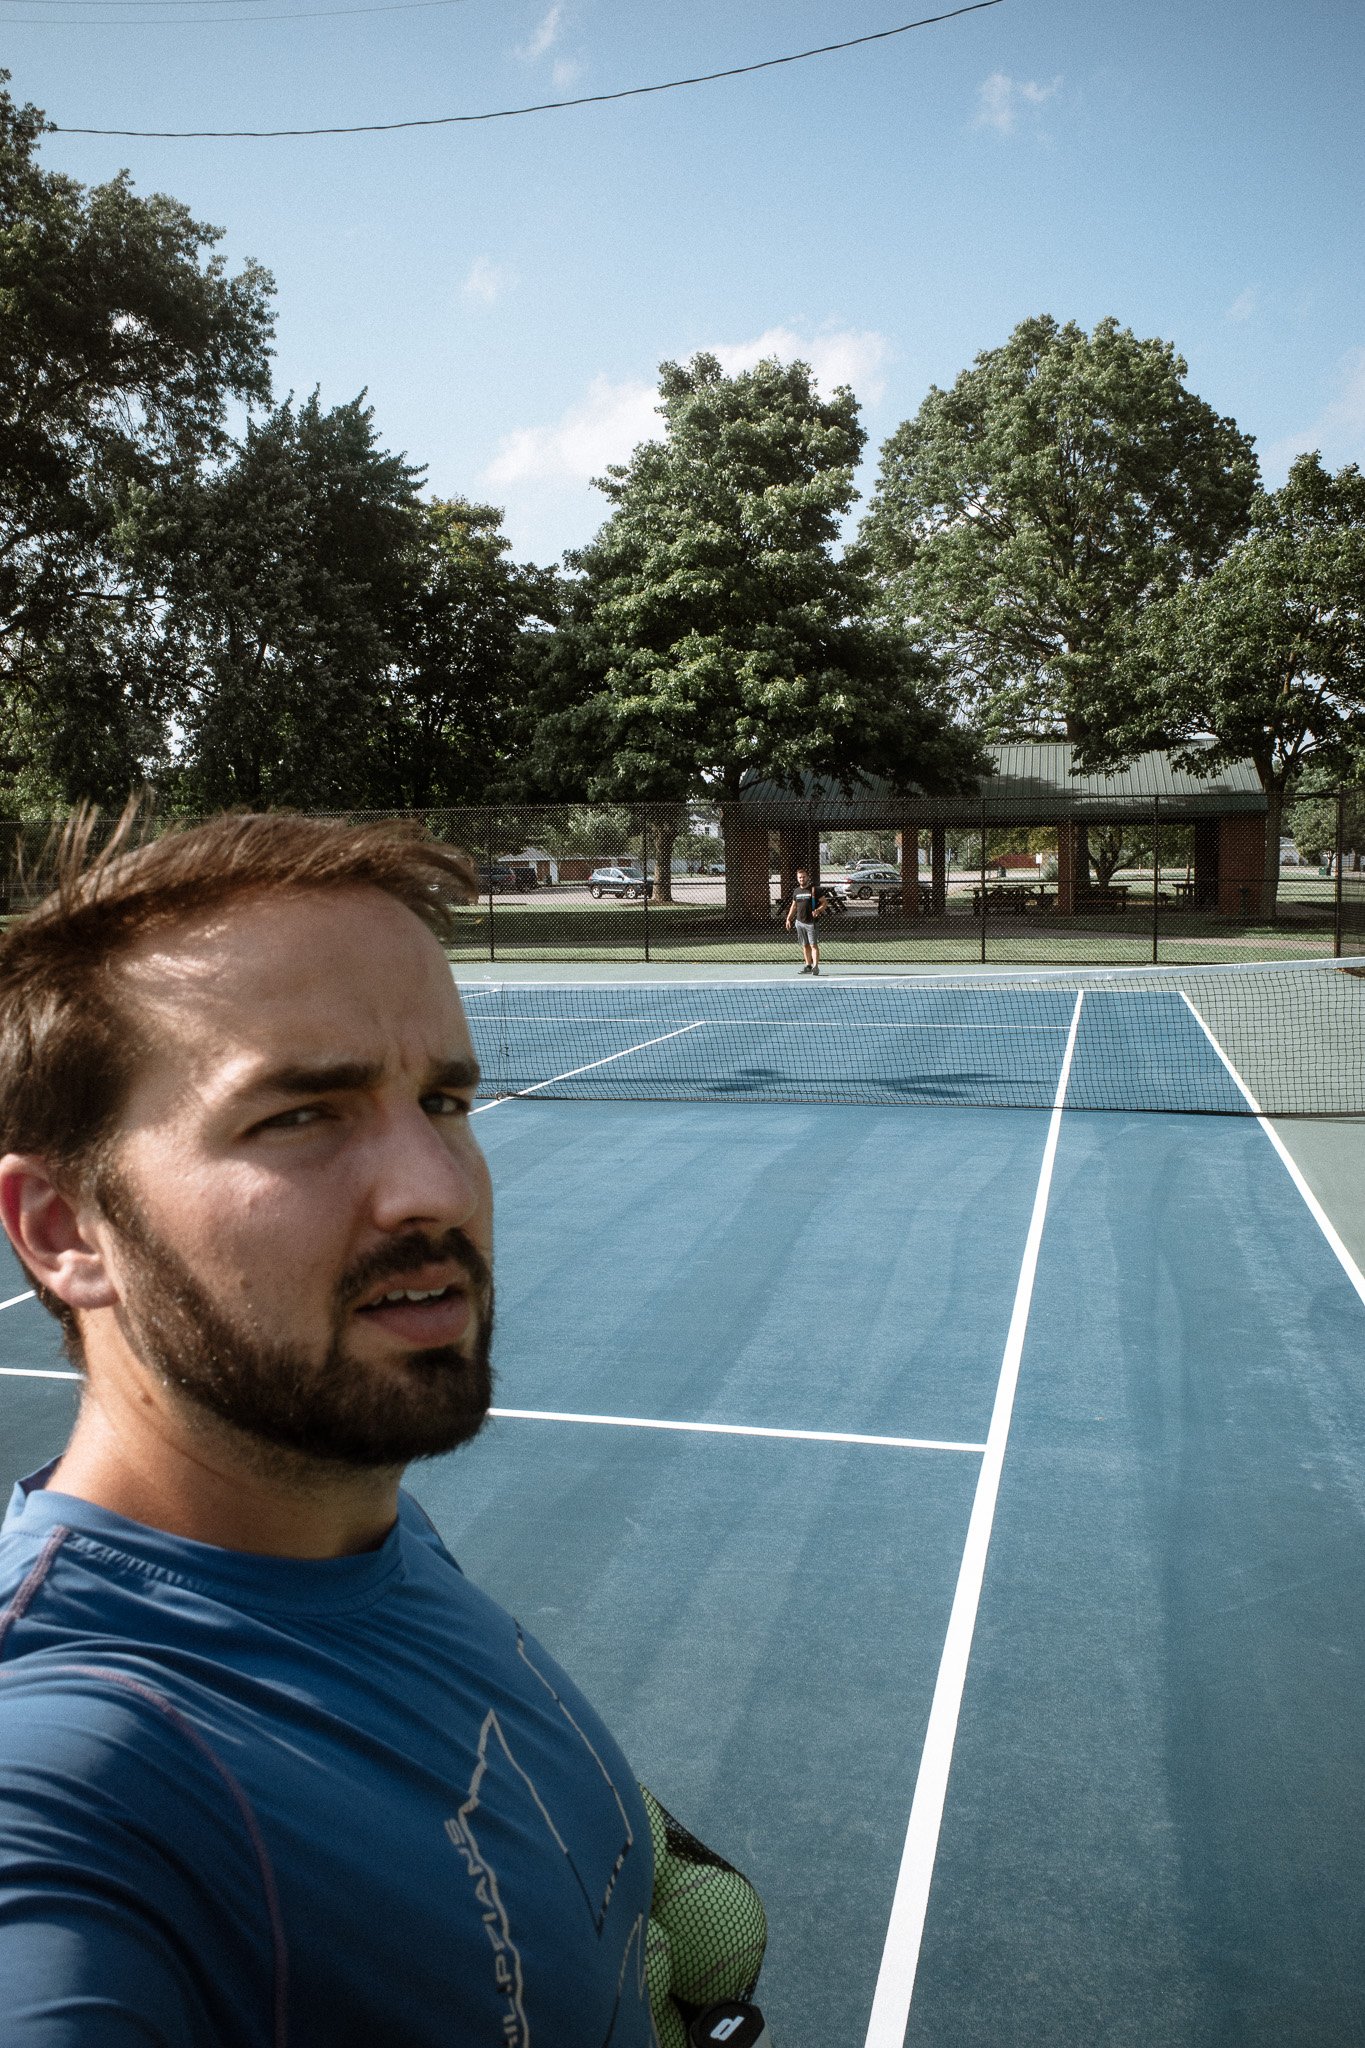
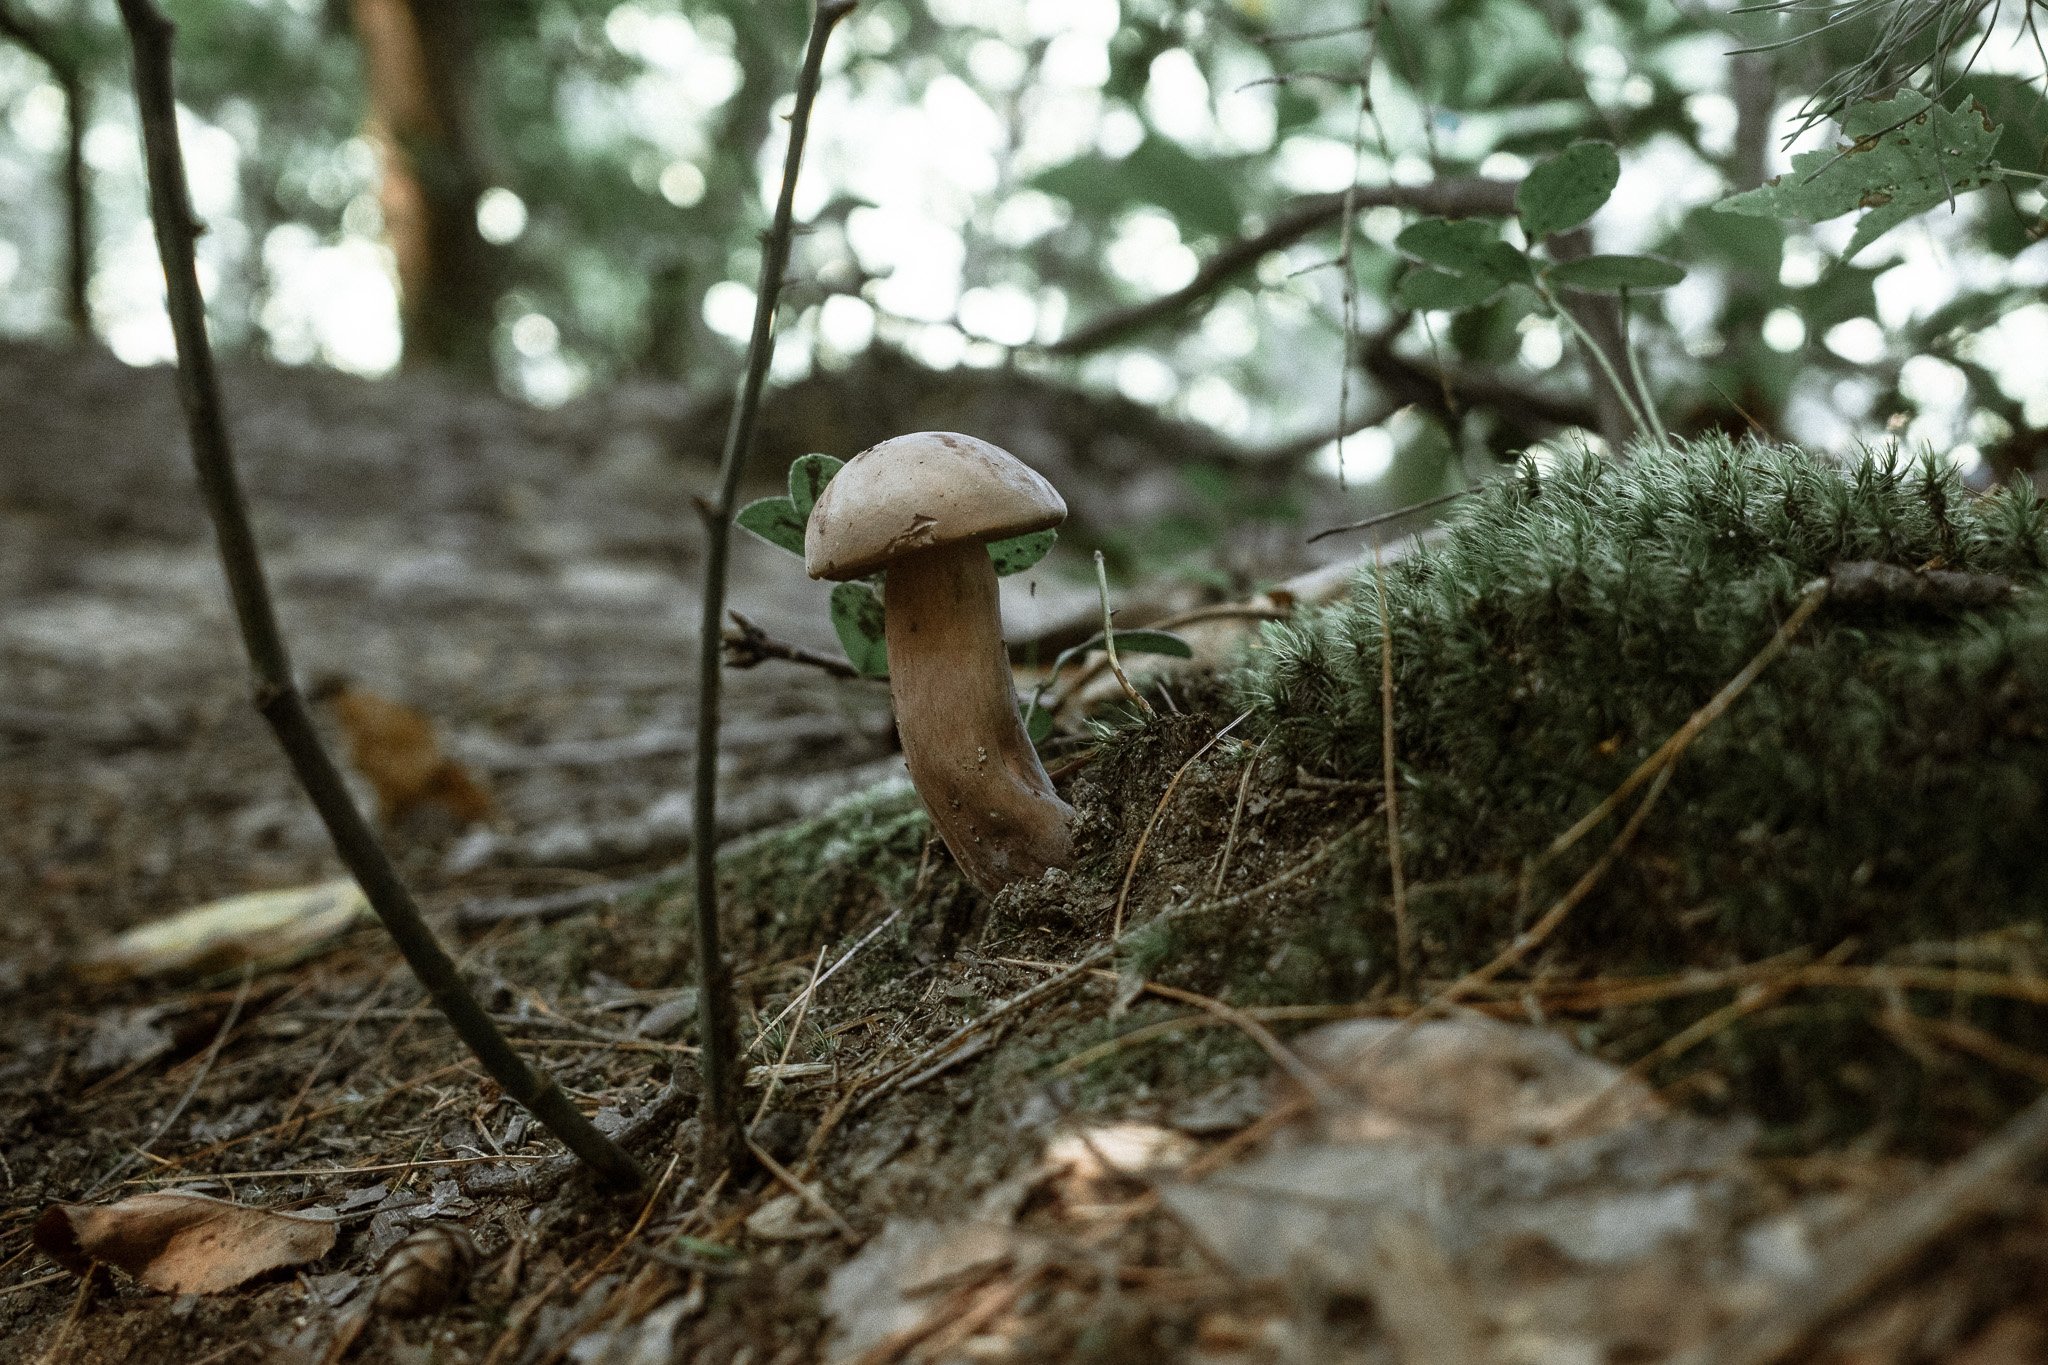
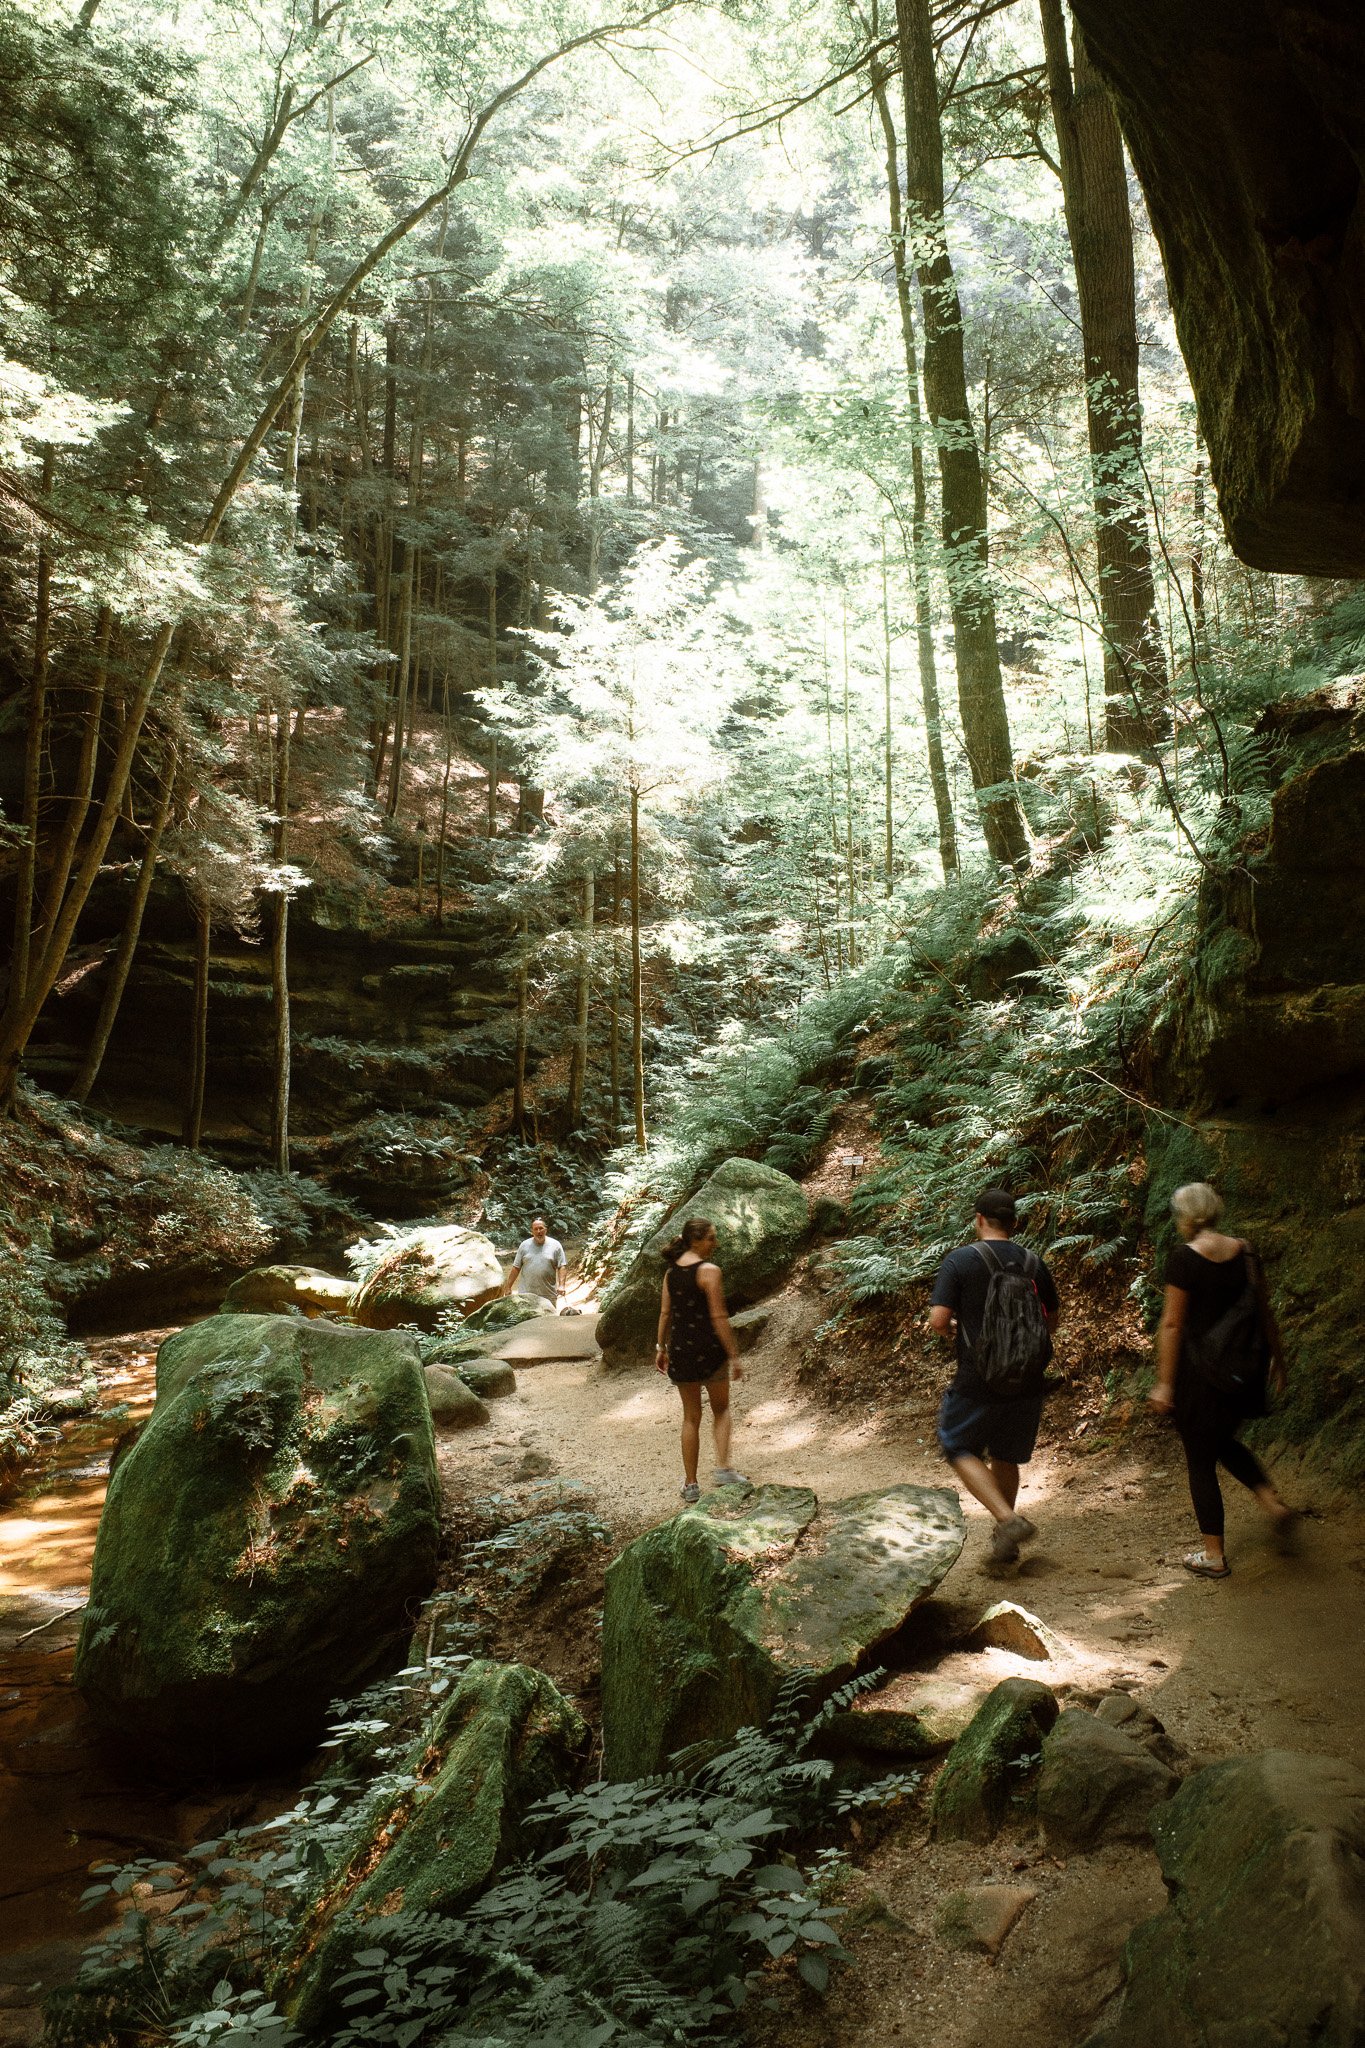
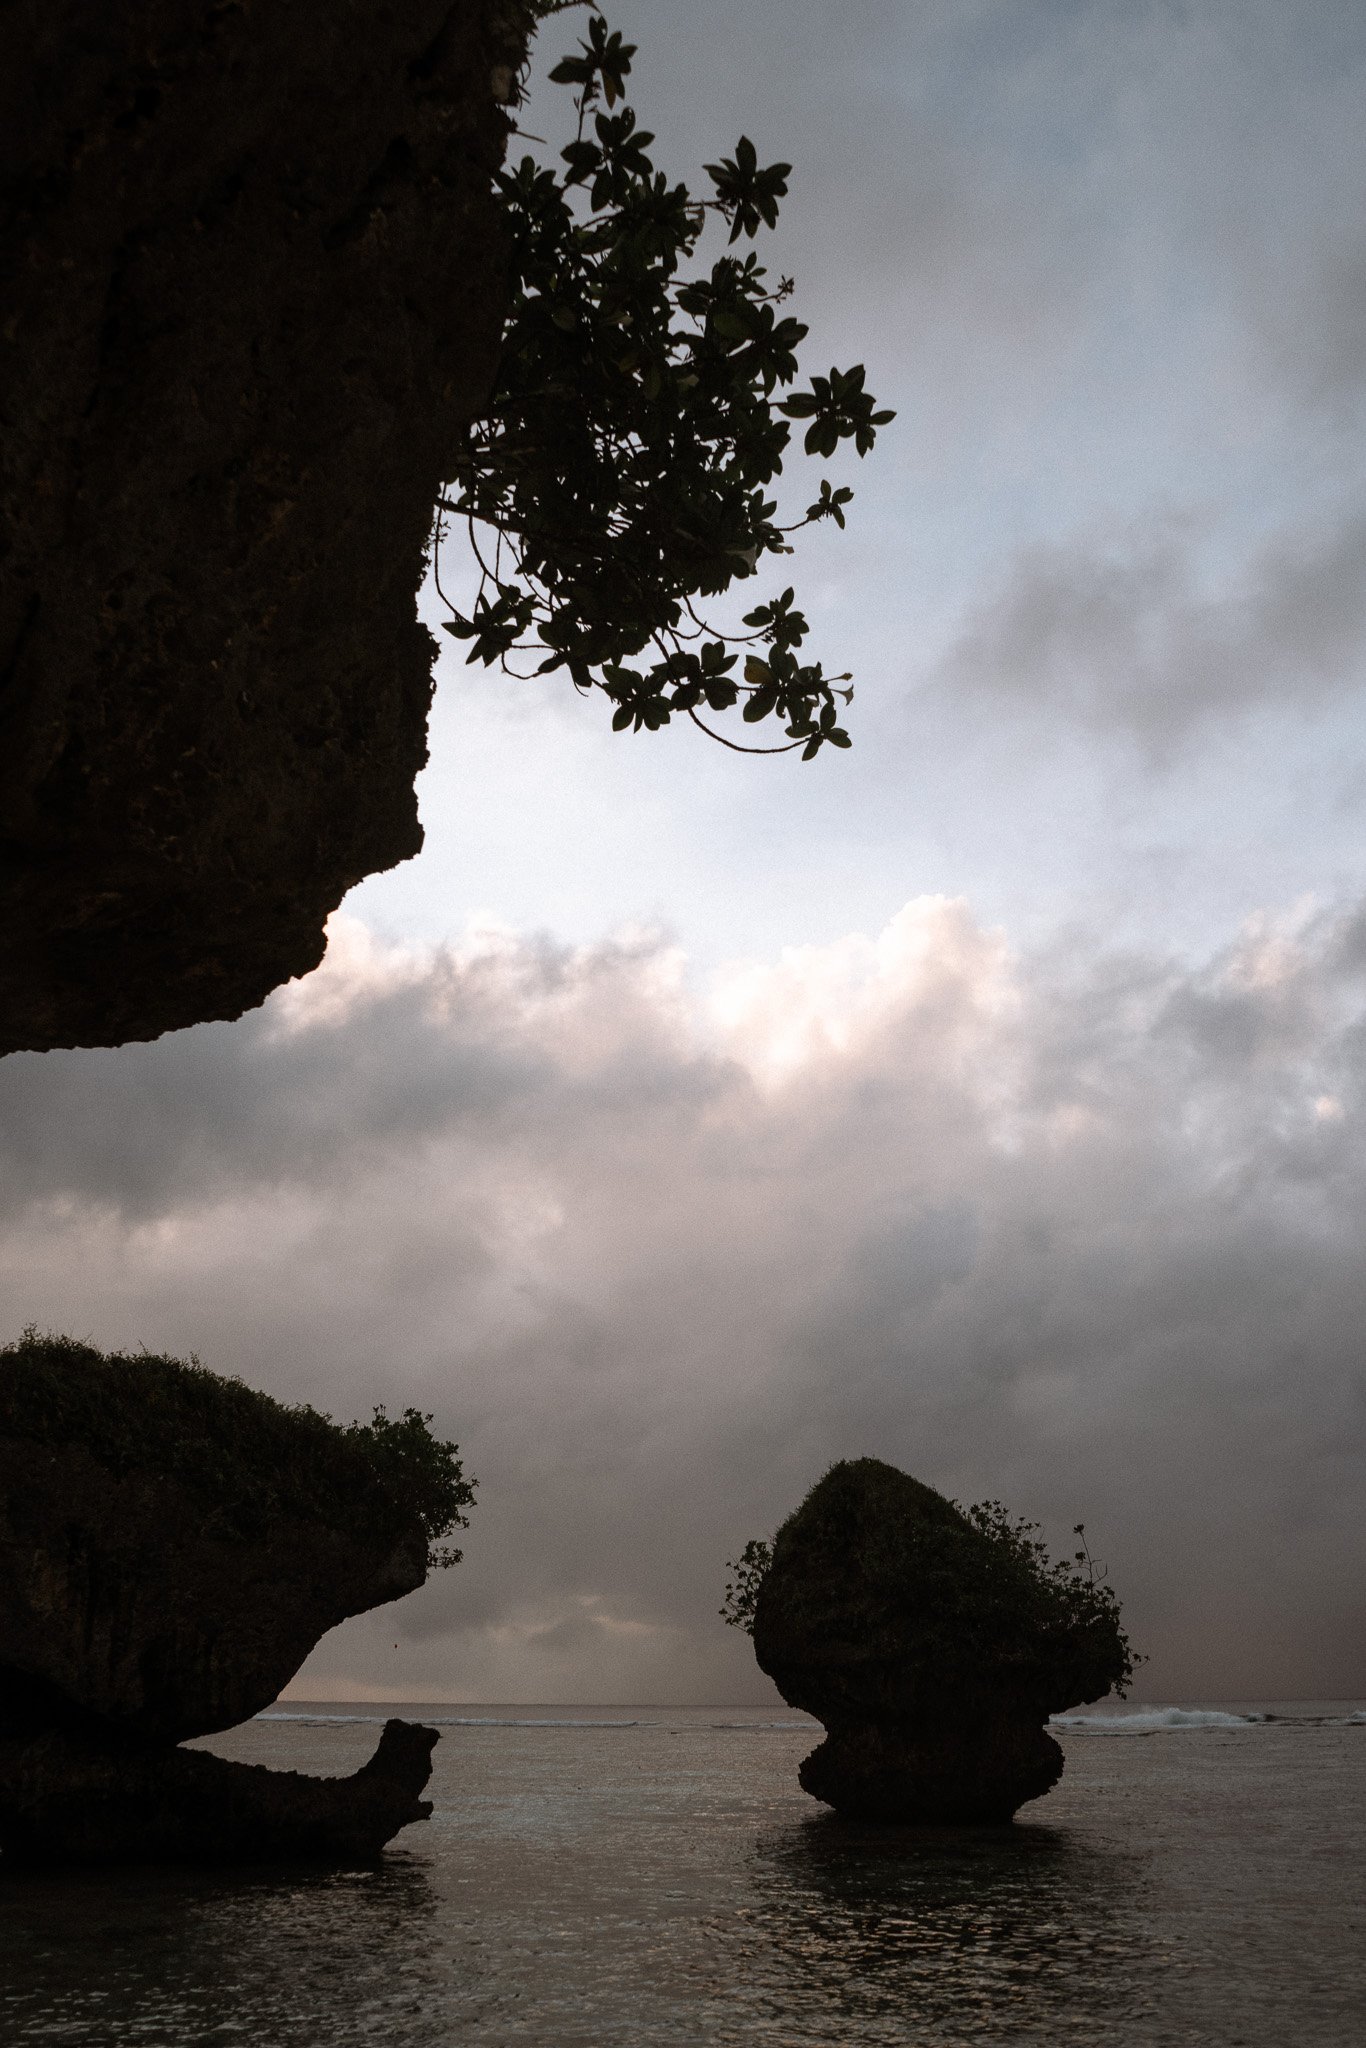
Most of the sample images on this page were taken with my Ricoh GR III. You can see my review of the Ricoh here and the current pricing here.
Color Palette:
The downloadable file is in the “.xmp” file format. I know its compatible with Adobe Lightroom. Unfortunately, my knowledge of editing software doesn’t extend far beyond Lightroom. Please let me know if you encounter any problems.
Preset Download:
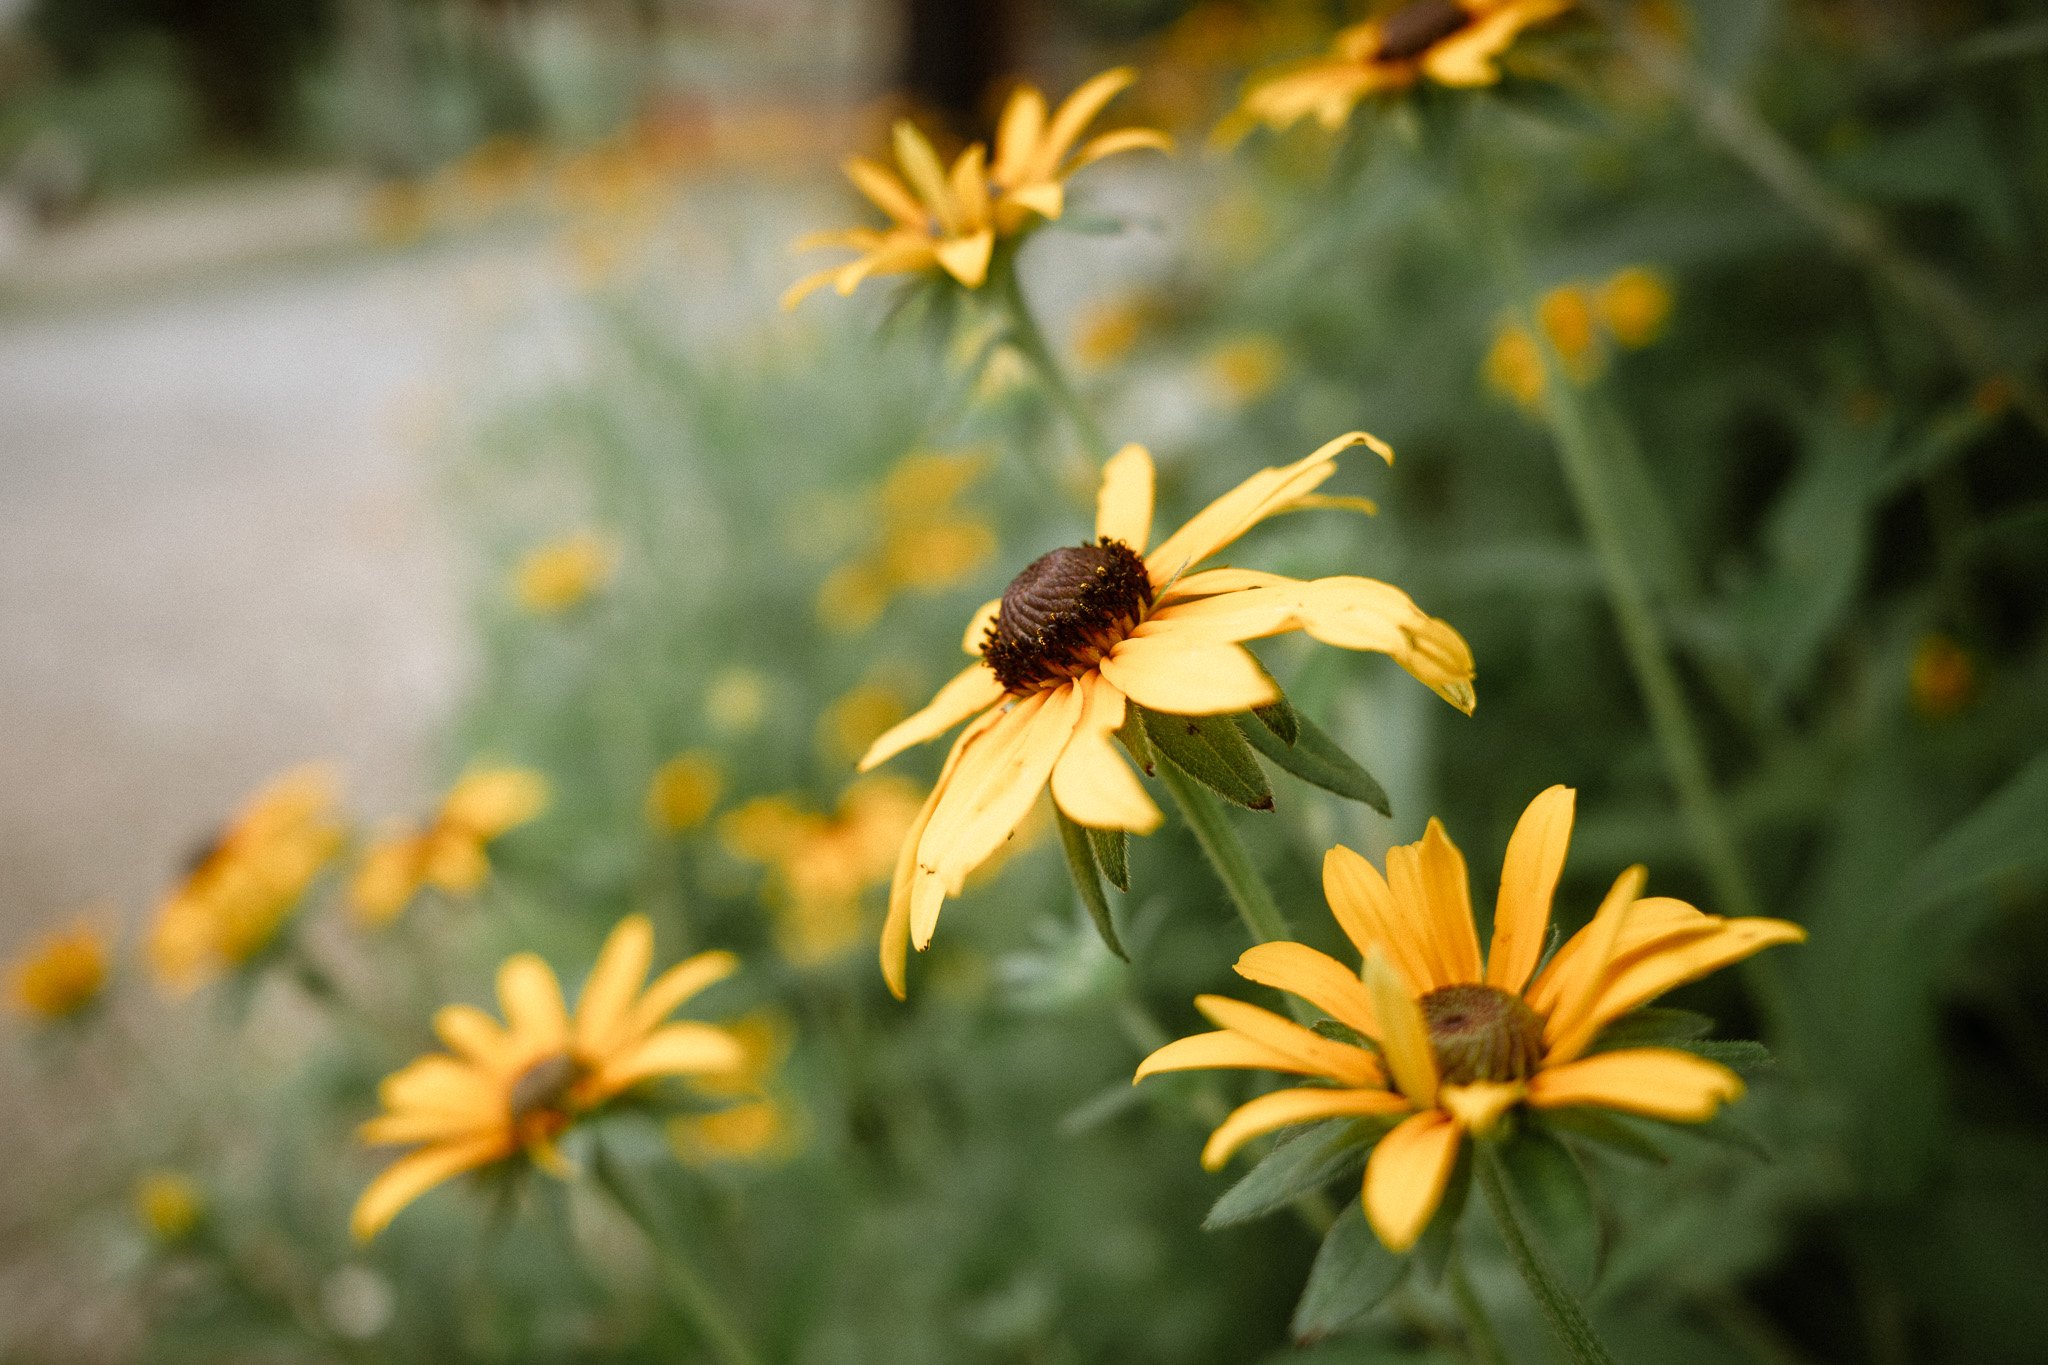
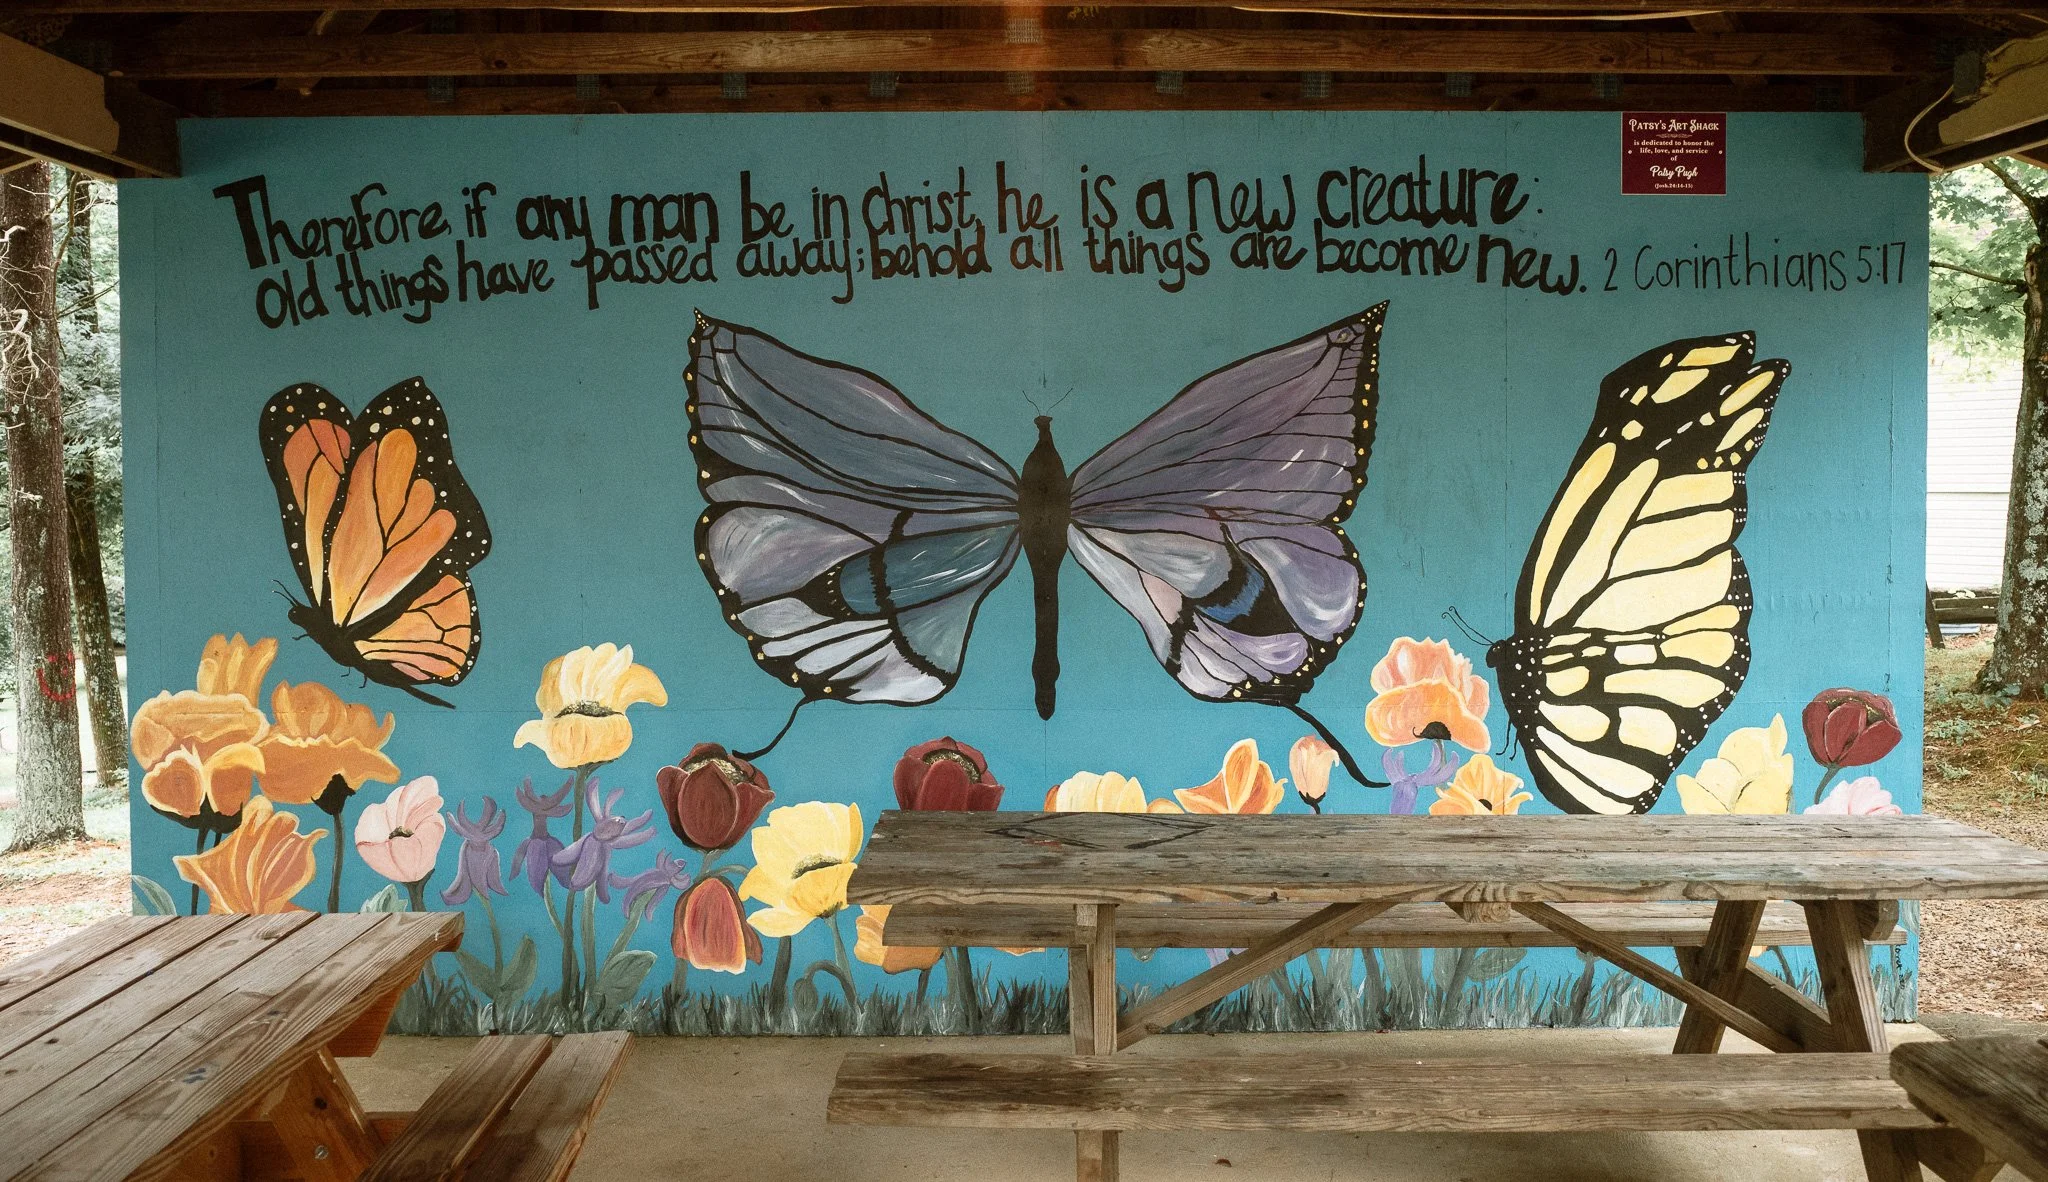
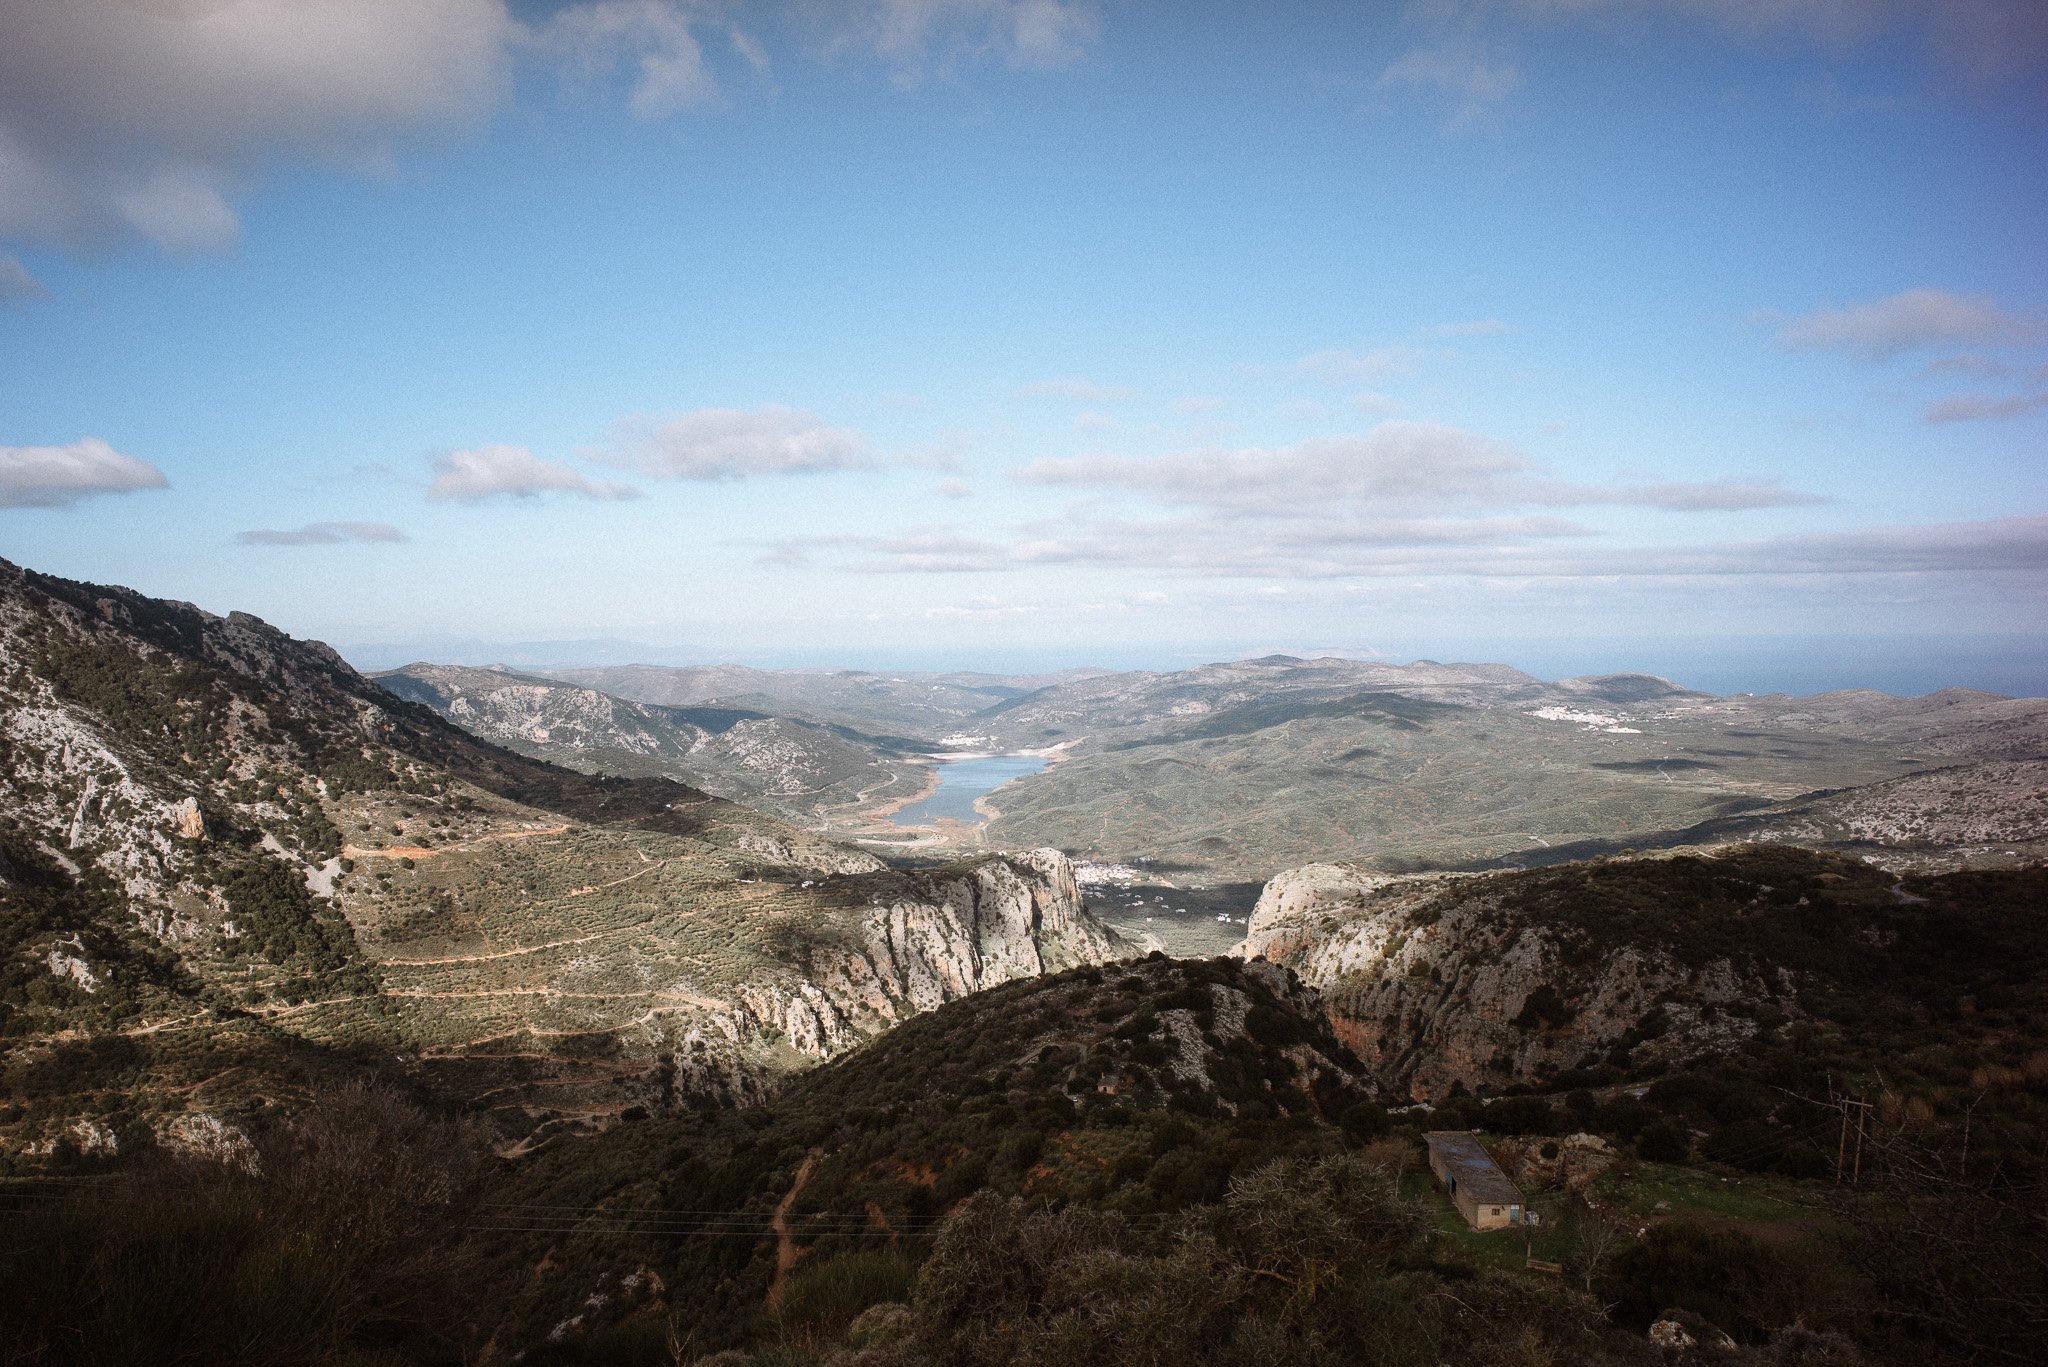
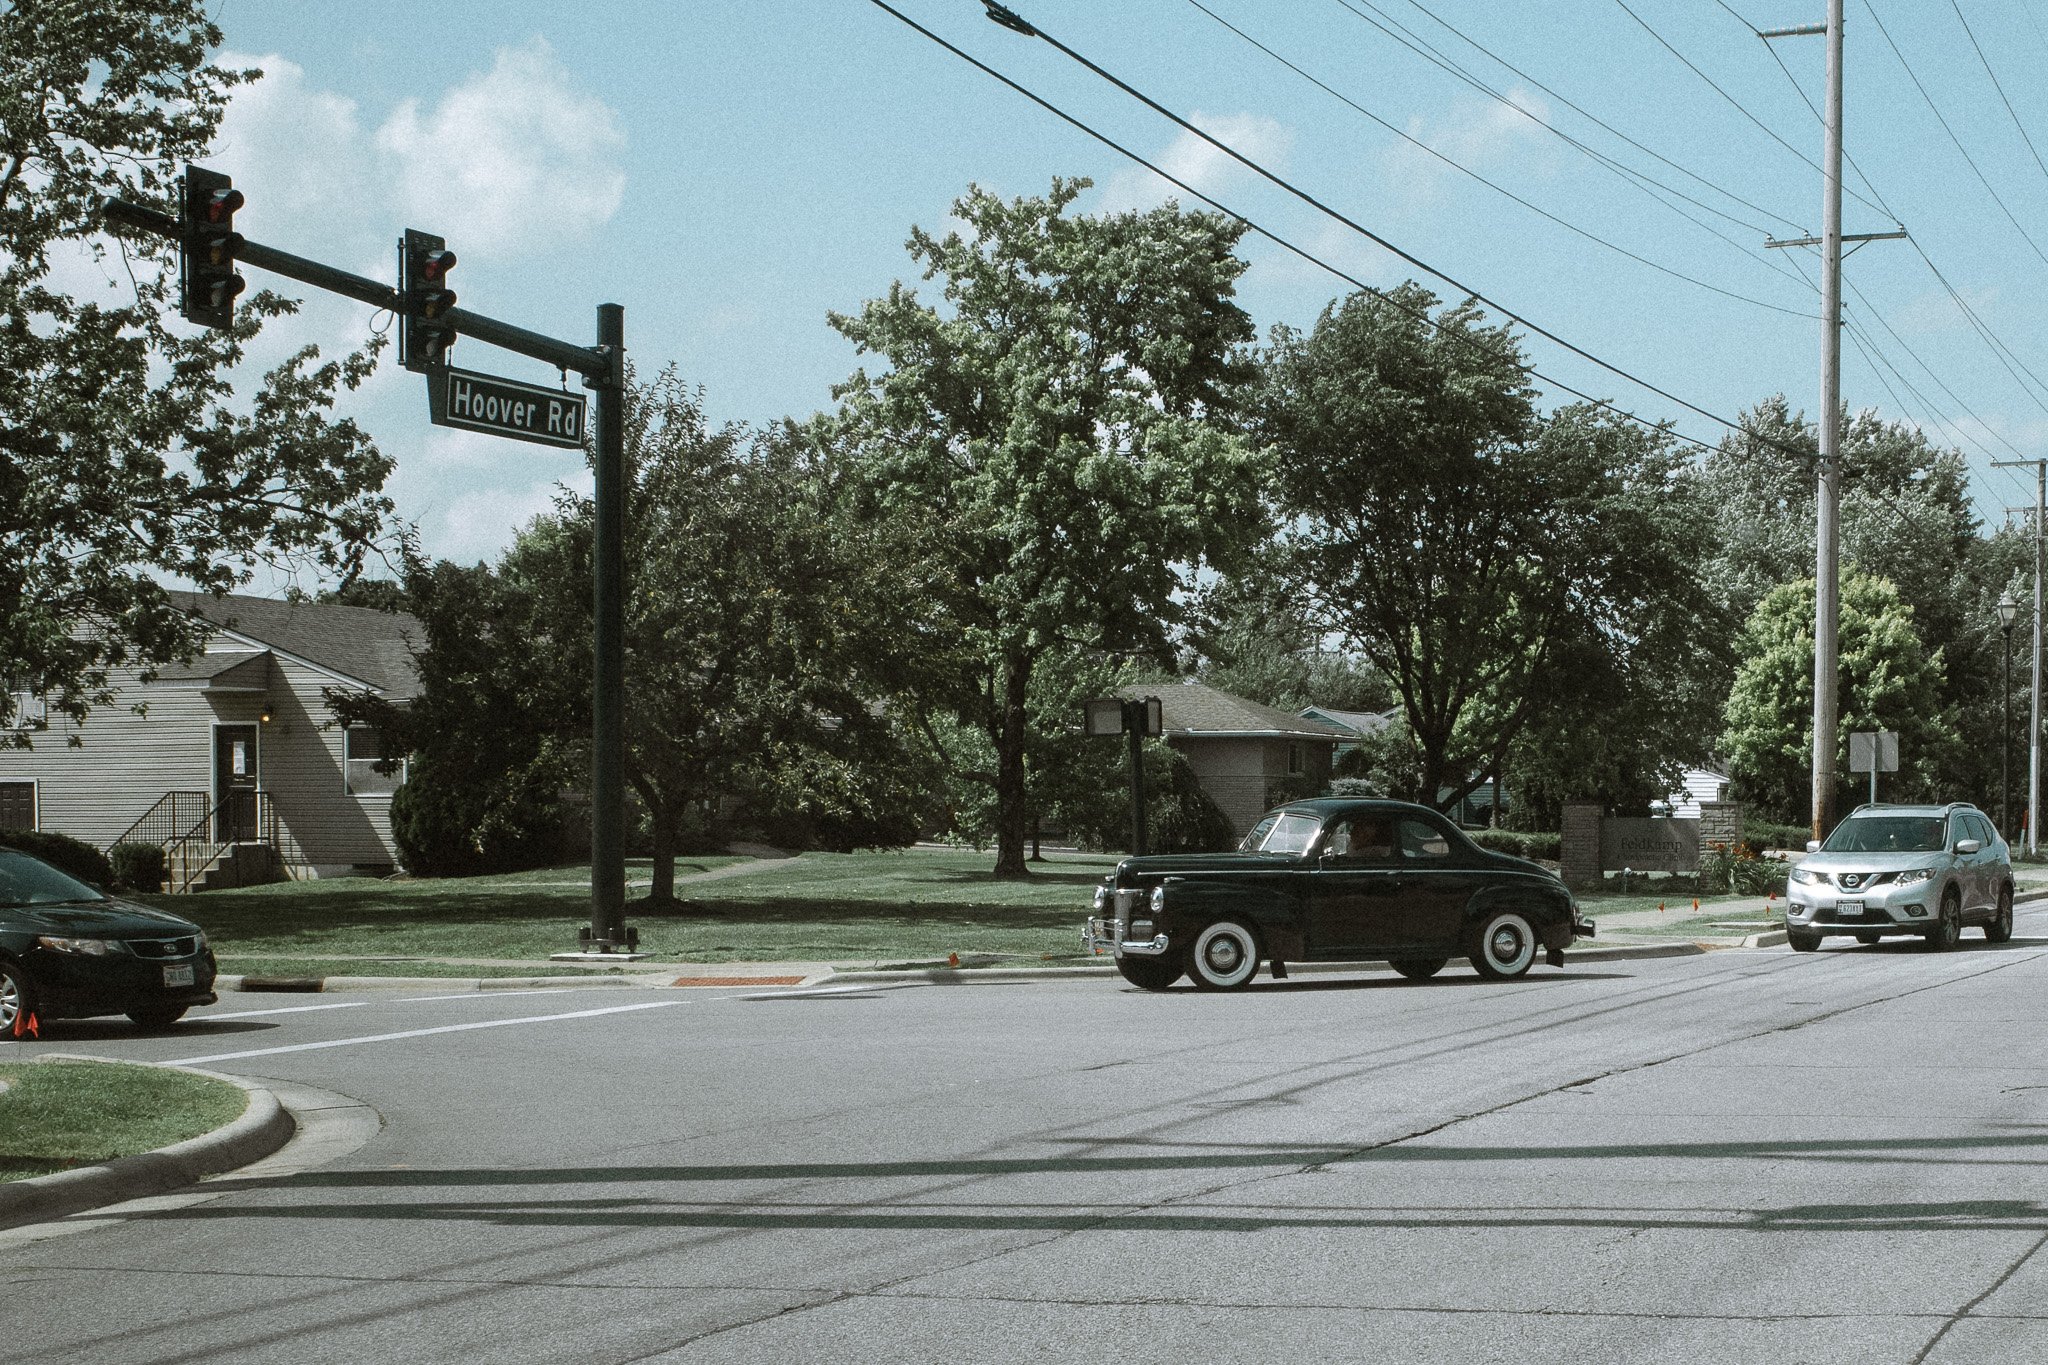
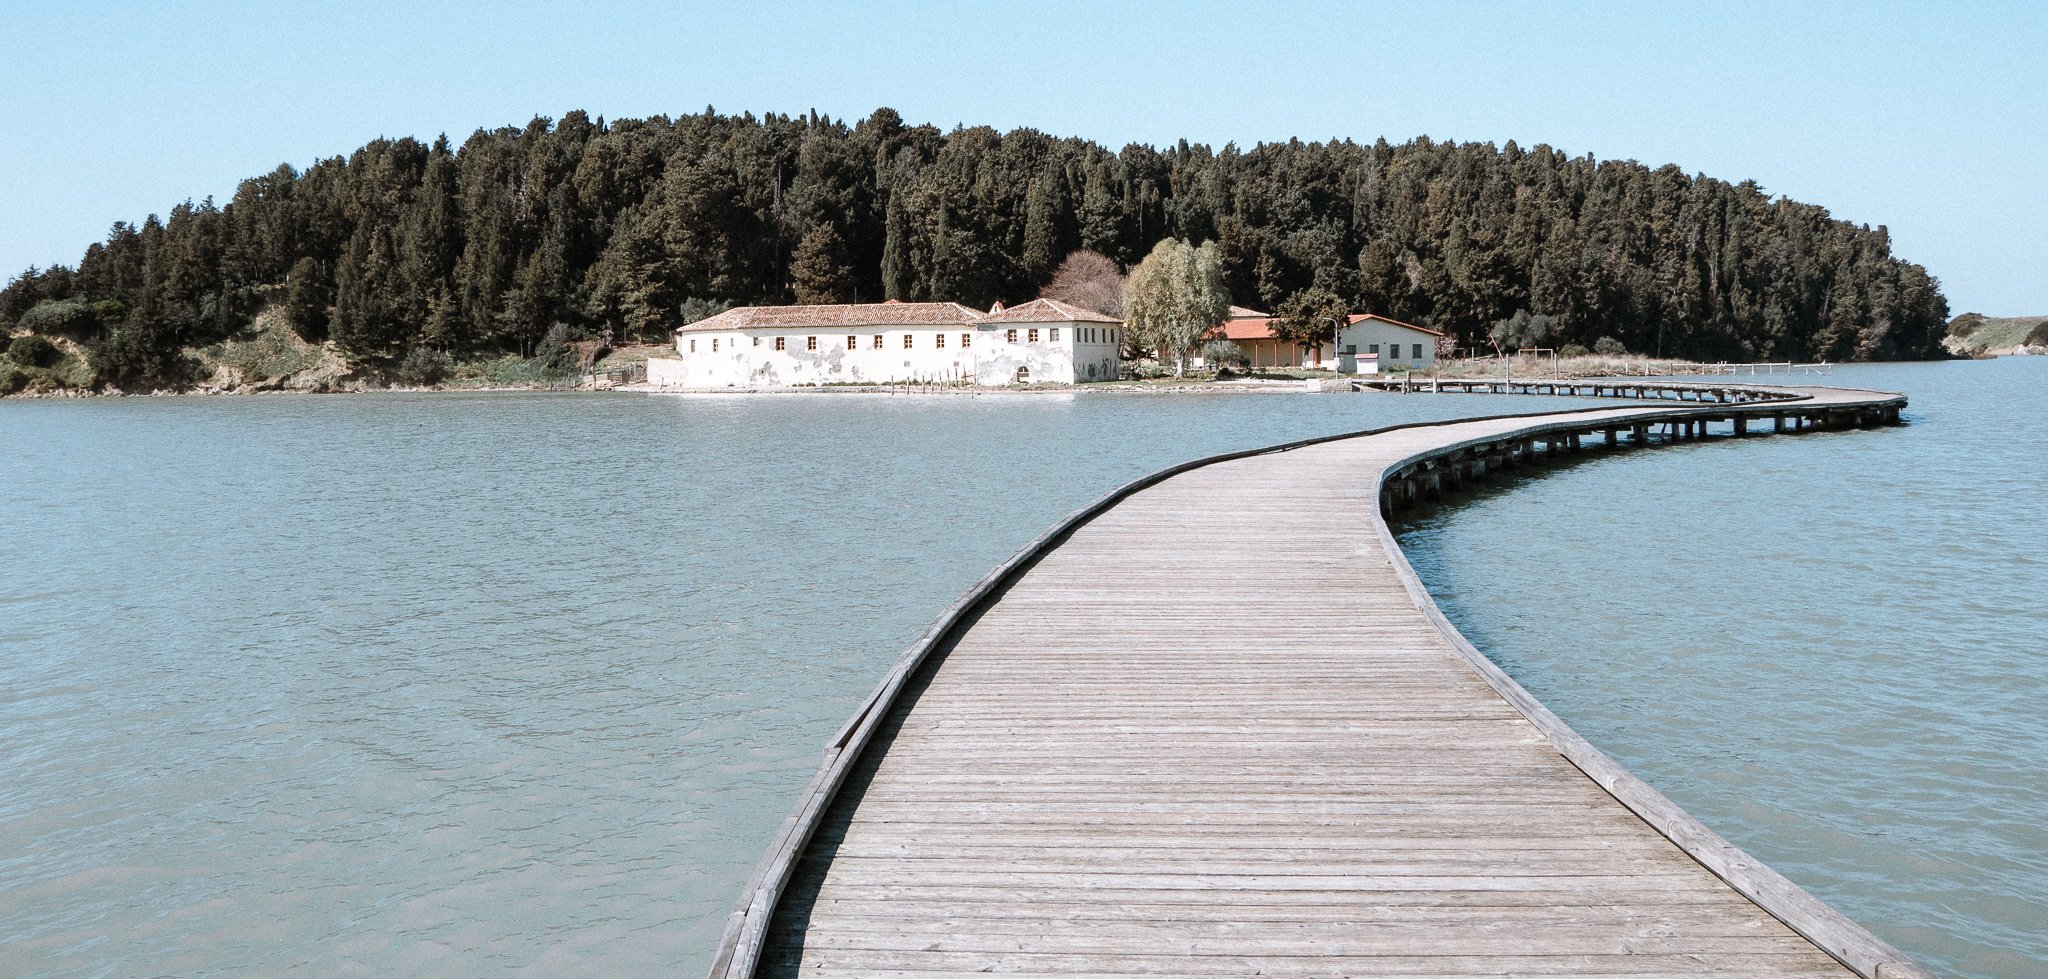
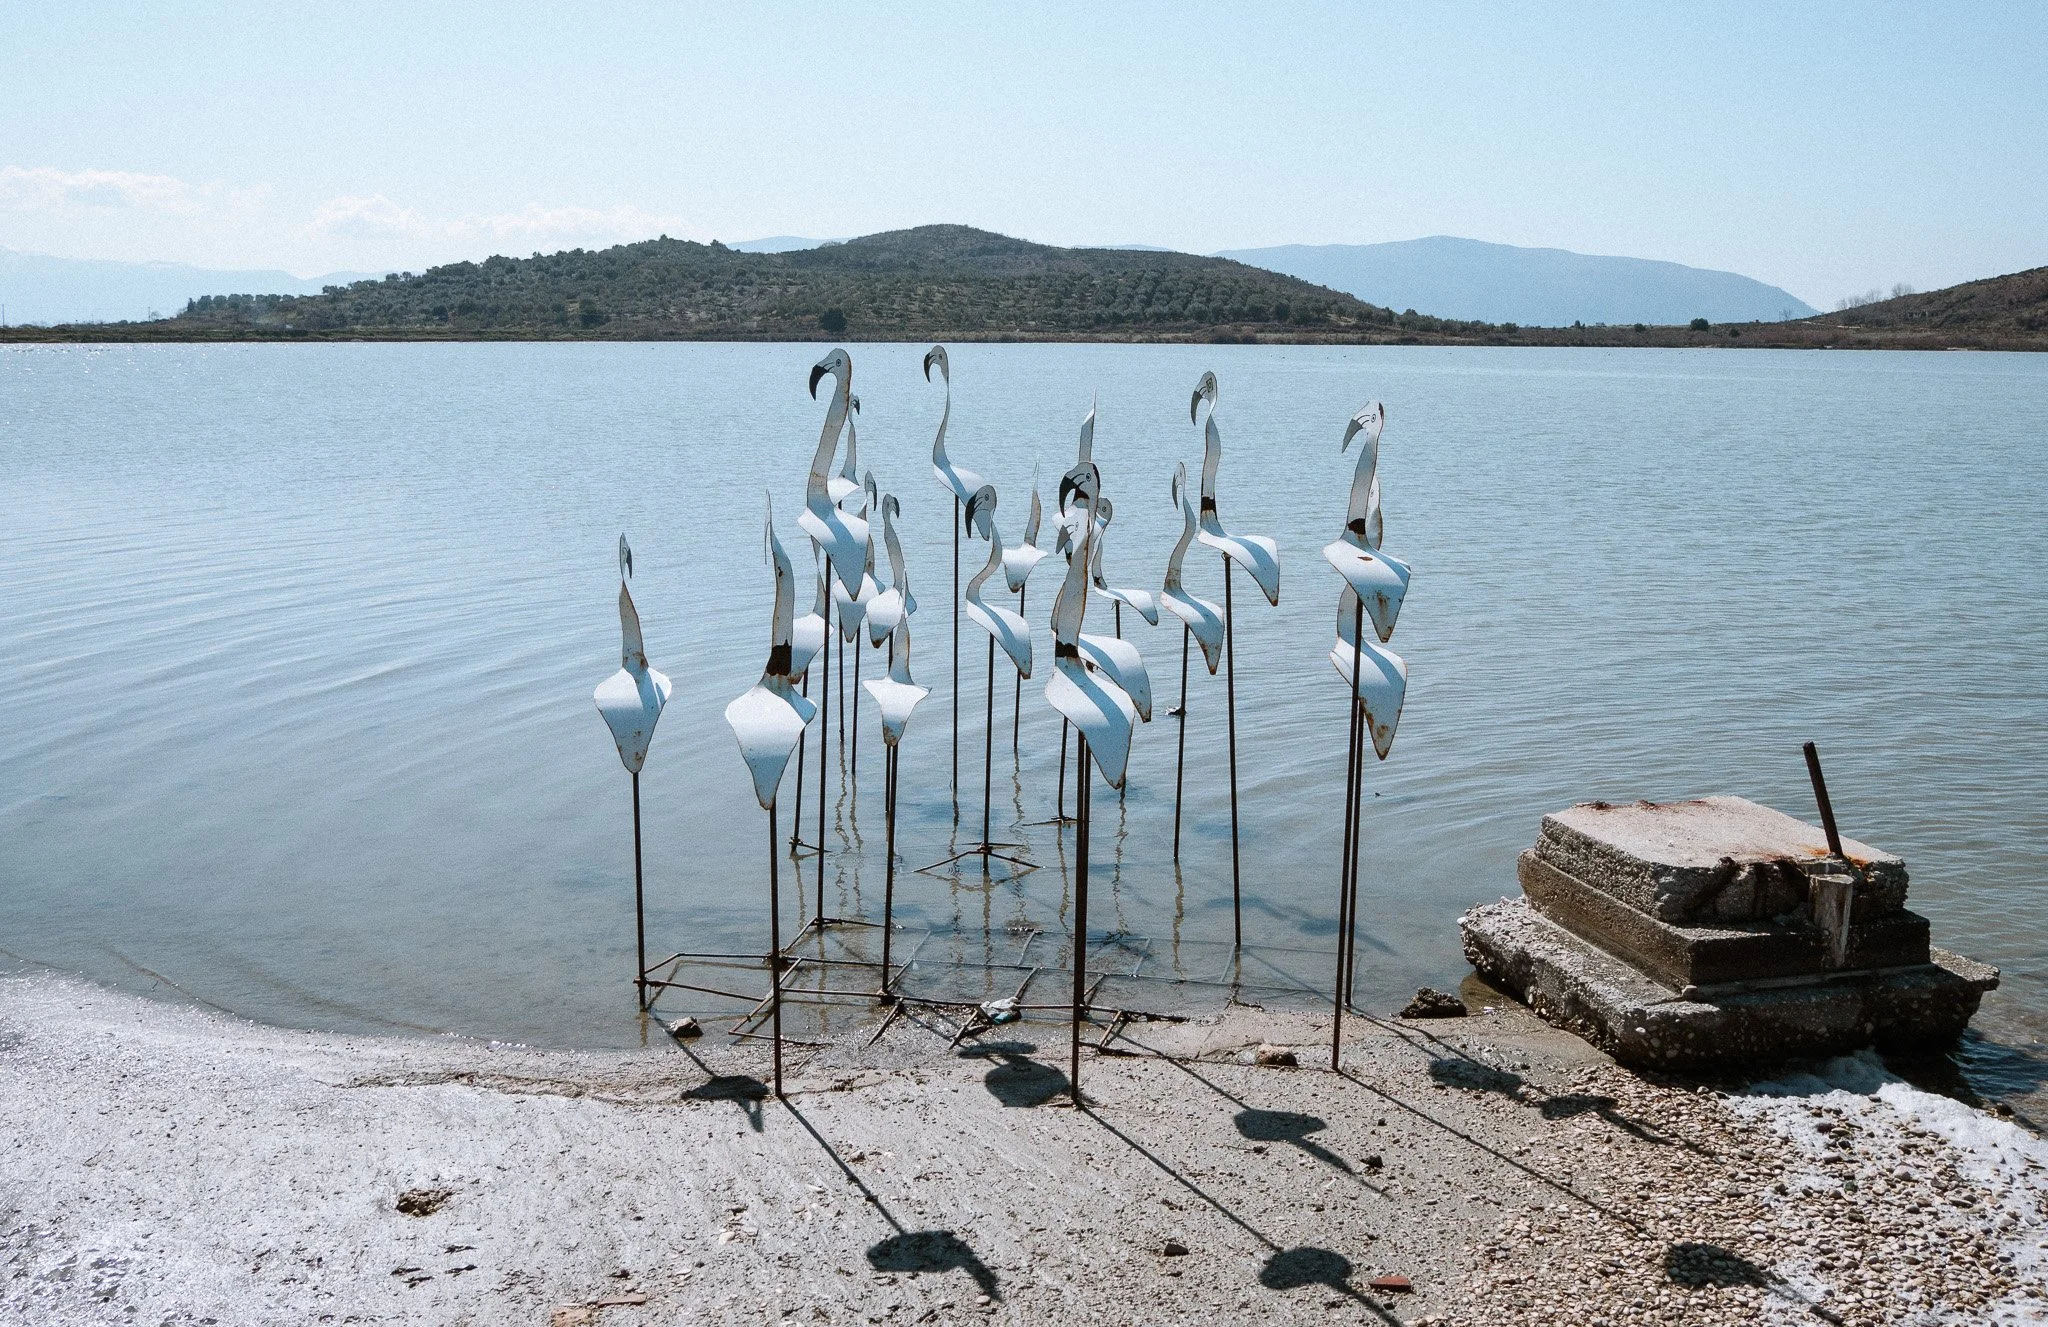
Sample Shots:
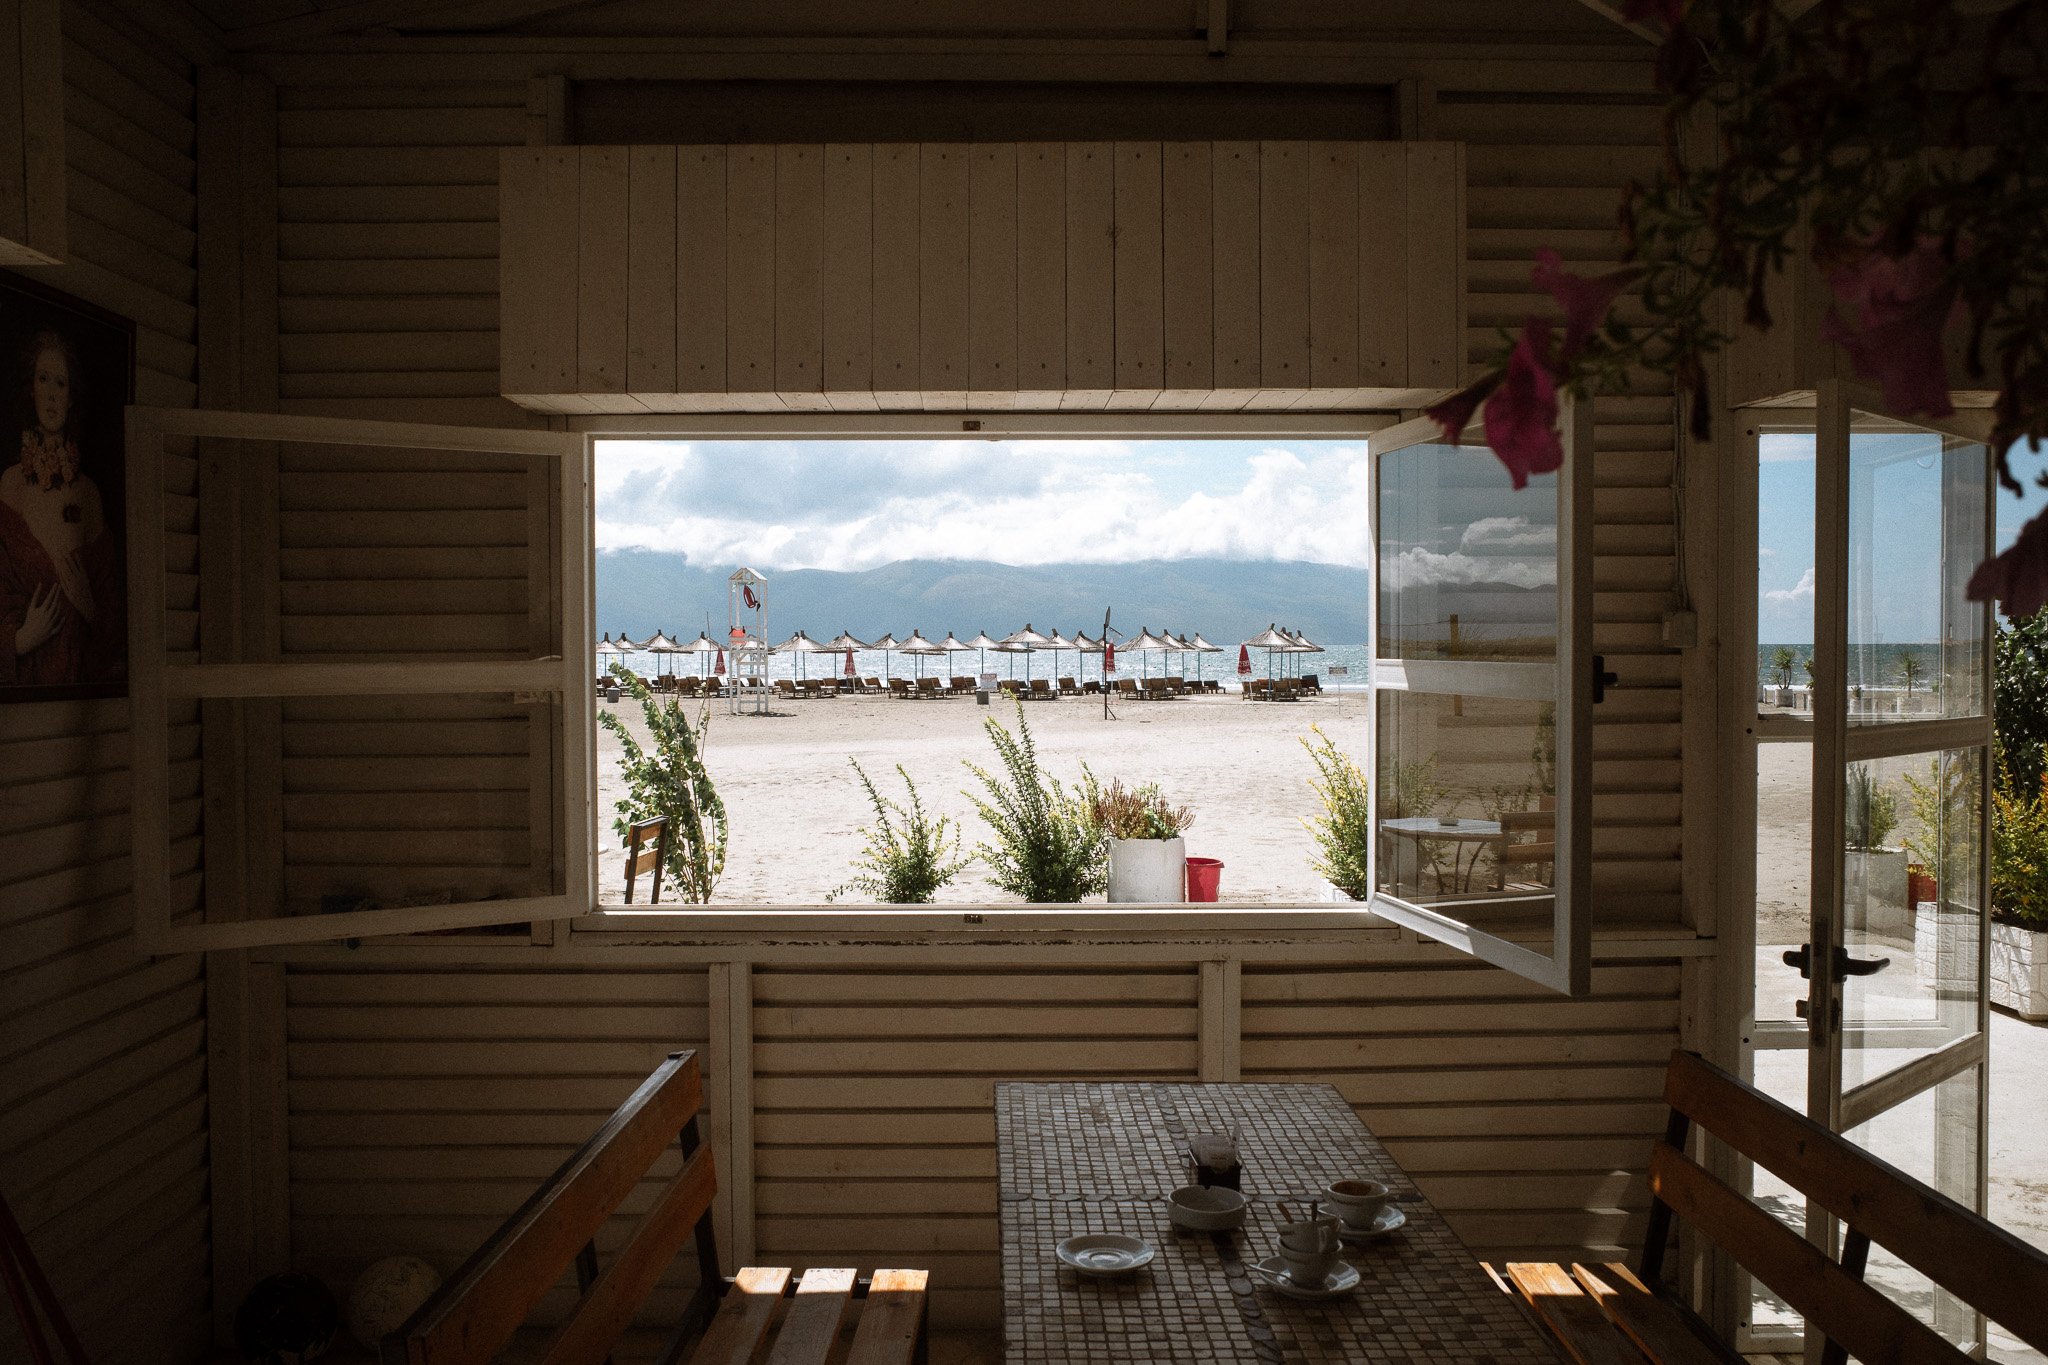
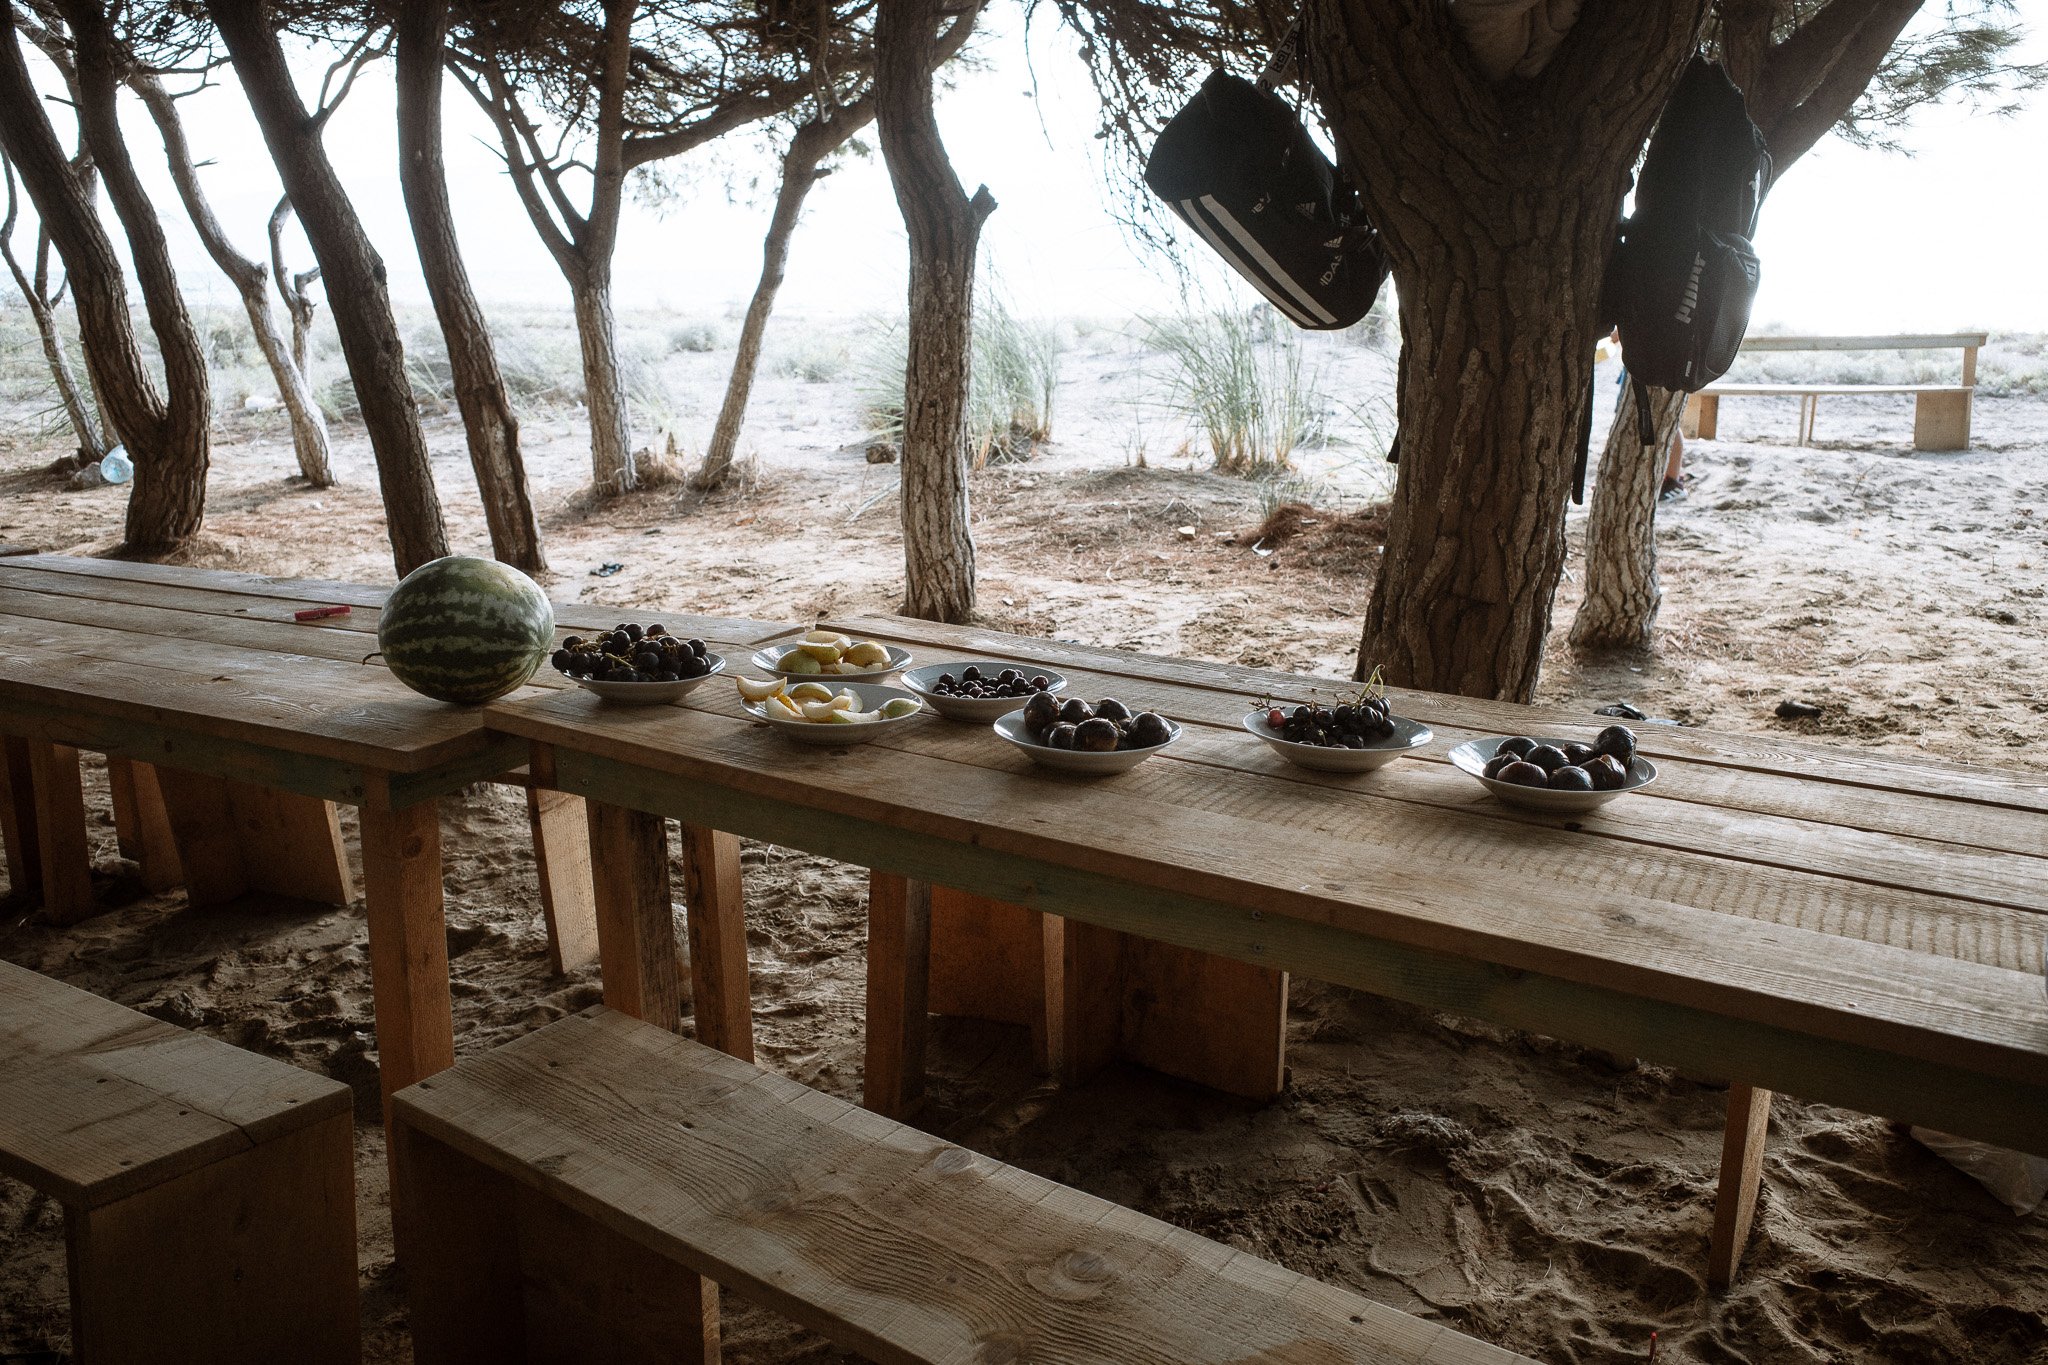
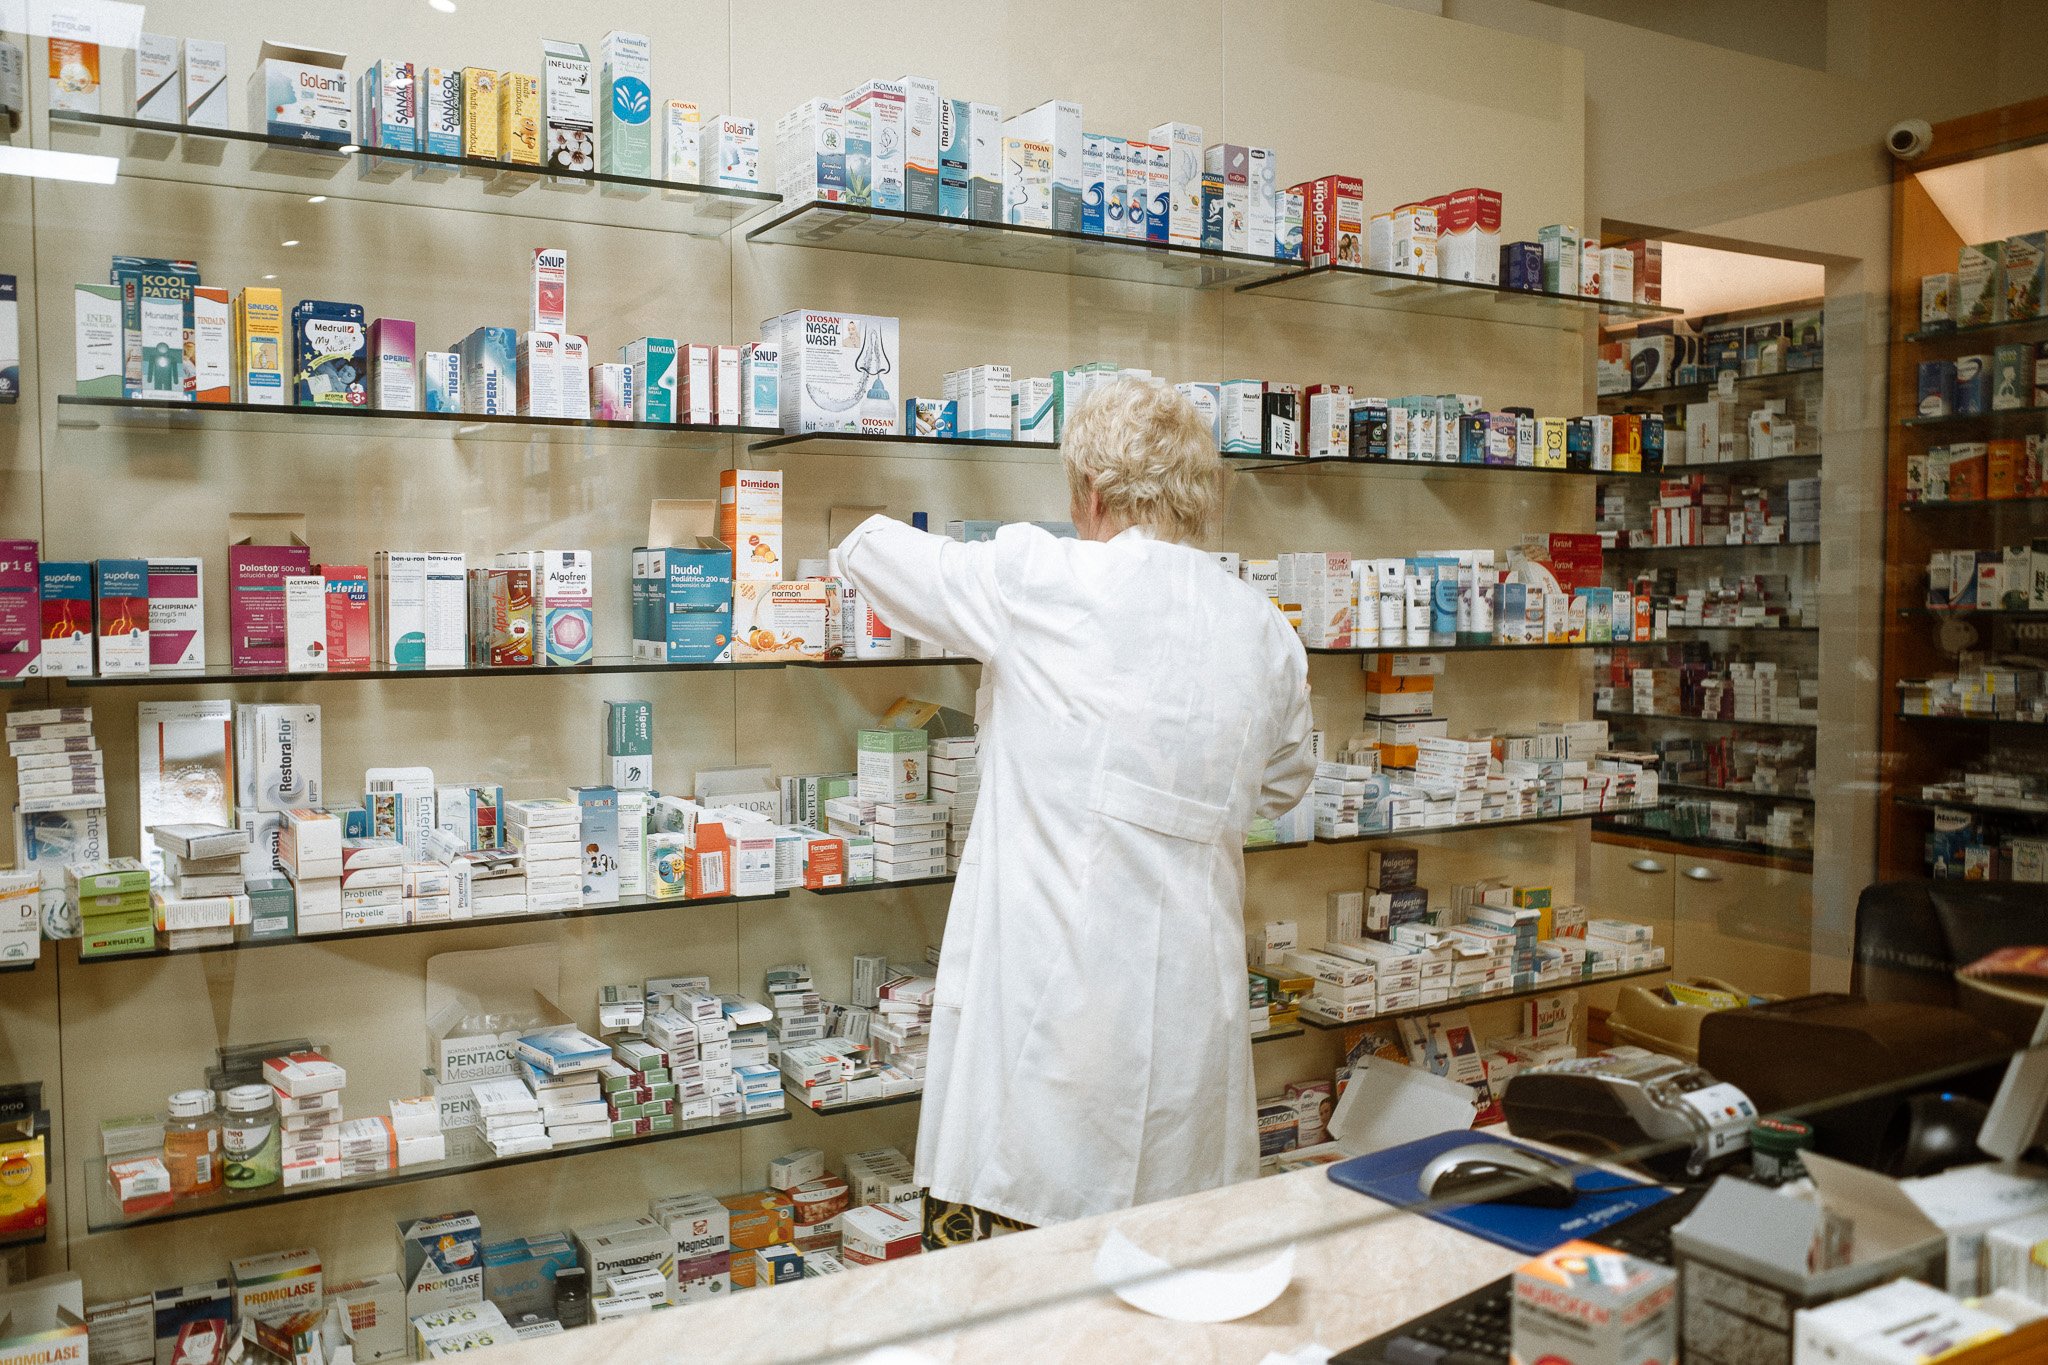
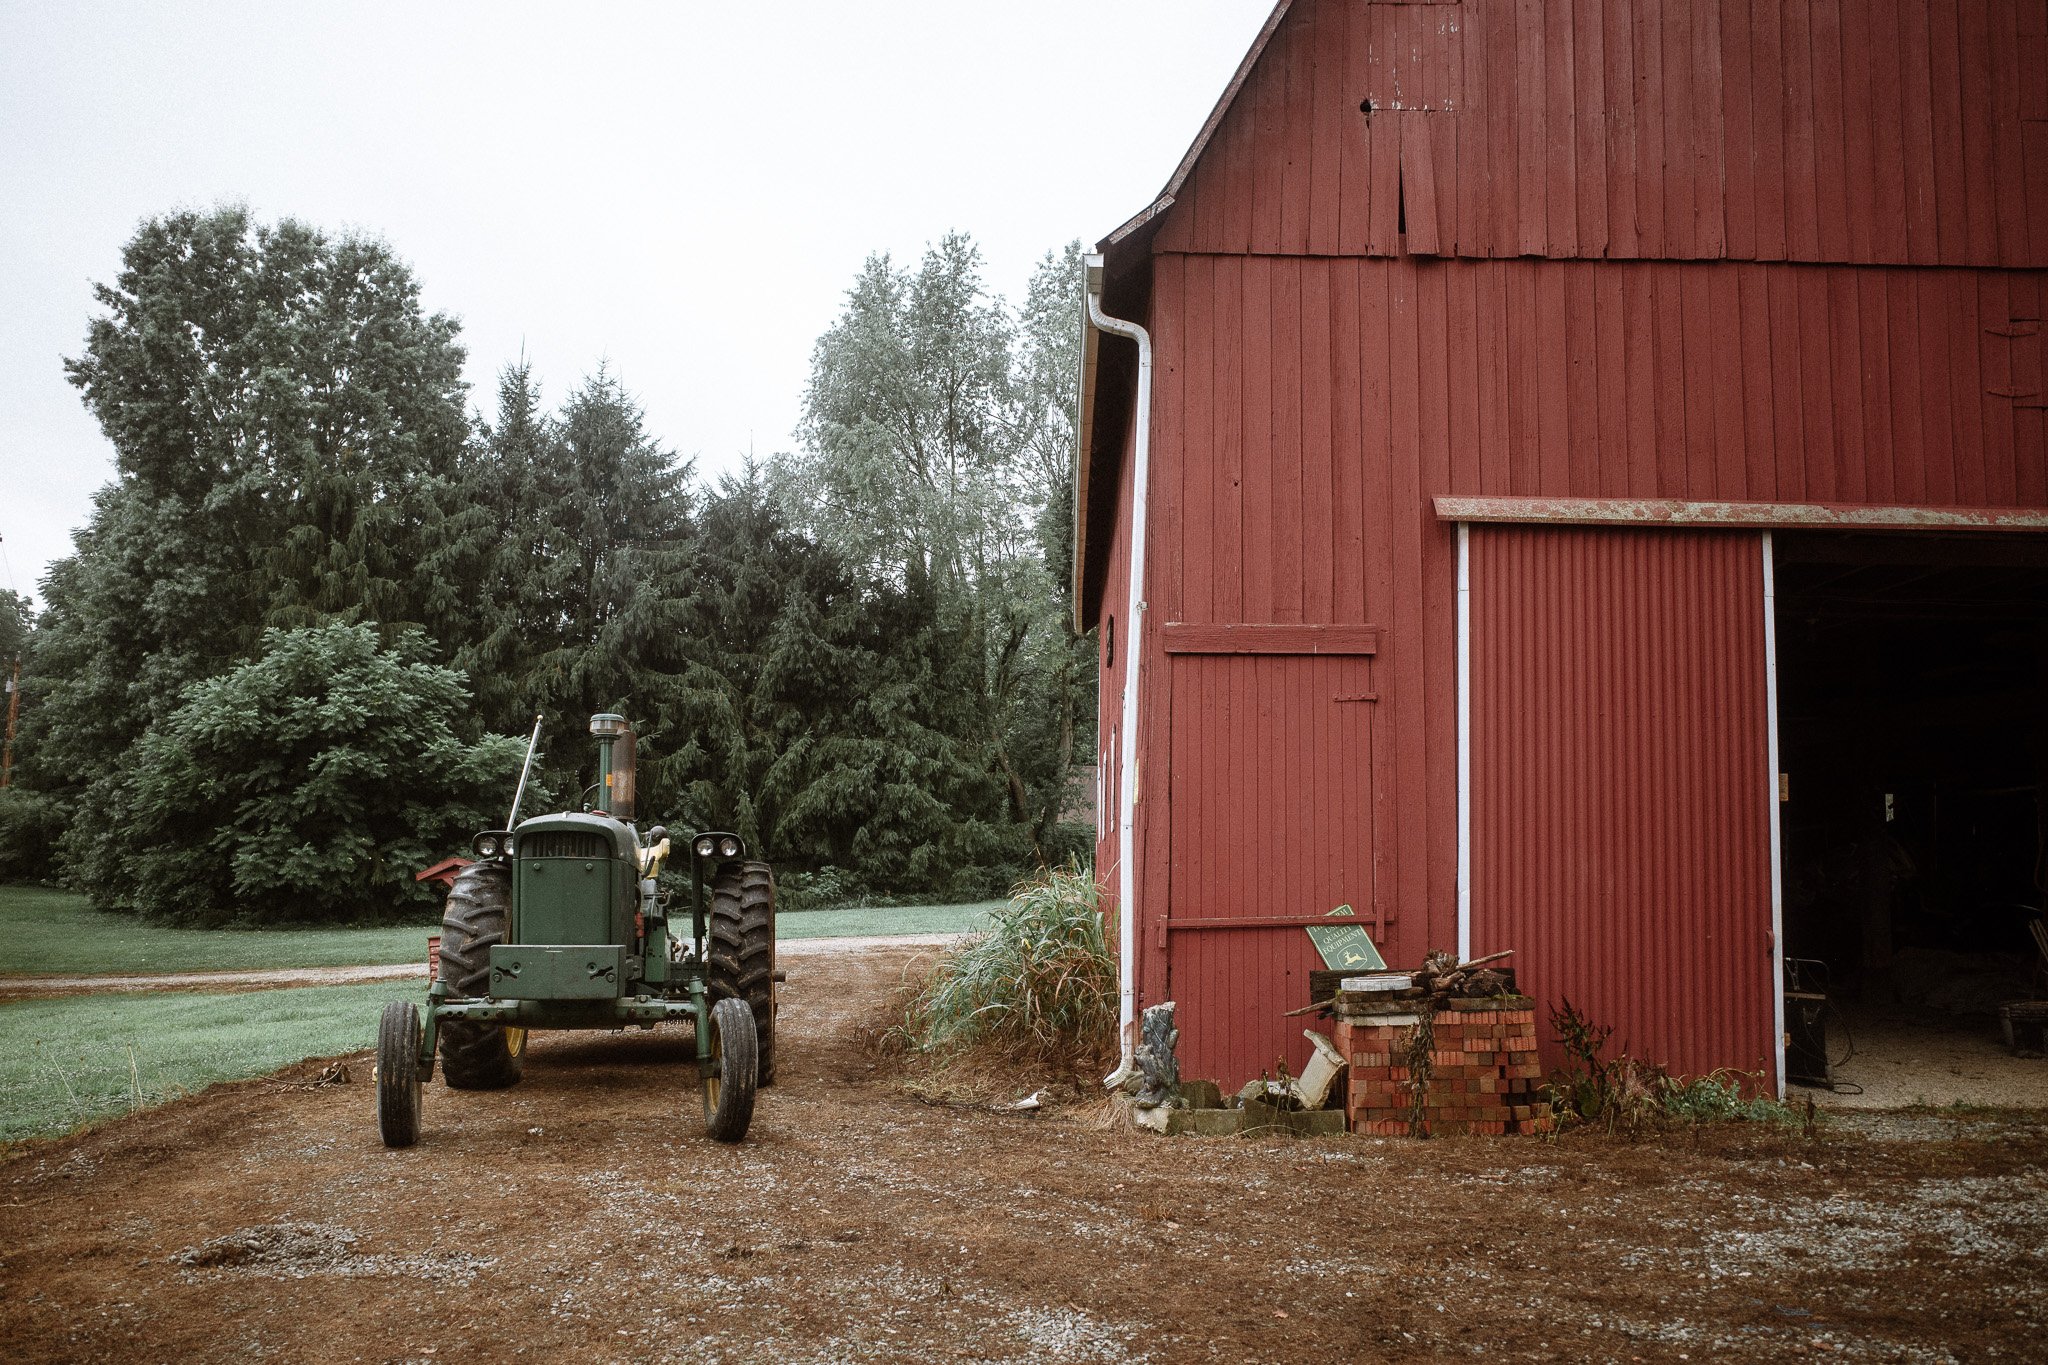
The only editing done to these photos was the application of the preset and an occasional exposure adjustment (when I missed exposure in camera). The colors were not edited after the preset was applied. I do this because I want to give people a true sense of what the preset offers when applied to photos with differing scenes, colors, and lighting conditions.


